Setting up a private PyPi server
It has been quite a few years that I have been working with Python but I never took the time to take a deeper look into how to package my code. To be fair, I never really had the use case and the following tutorial is purely a simple introduction on how to create your package and deploy it to your private server. I have used the complex way of packaging as described on python.org in a different project (maybe a future article?) and found it to be pretty tedious so I looked for a different method. A popular way of creating and deploying packages is by using poetry that can take care of your virtual environments and has a built-in mechanism to publish your packages to PyPI.
Prerequisites
- Pyenv - for managing Python versions.
Note: I am aware that
pyenvalso supports virtual environments but I prefer Poetry to manage them. - Poetry - for virtual environments and packaging.
Pyenv
First of all, I make sure I have pyenv installed on my server to manage the Python versions. Since I will host the PyPi server on my Ubuntu VPS (theviji) I use the pyenv-installer as suggested in the docs.
jitsejan@theviji:~$ curl https://pyenv.run | bash
Update the ~/.zshrc by exporting the environment variables and making pyenv available:
jitsejan@theviji:~$ echo 'export PYENV_ROOT="$HOME/.pyenv"' >> ~/.zshrc                                                                                       jitsejan@theviji:~$ echo 'export PATH="$PYENV_ROOT/bin:$PATH"' >> ~/.zshrc
jitsejan@theviji:~$ echo -e 'if command -v pyenv 1>/dev/null 2>&1; then\n  eval "$(pyenv init -)"\nfi' >> ~/.zshrc
Reload the ~/.zshrc and verify the version of pyenv. At the time of writing the latest version is 1.2.23.
jitsejan@theviji:~$ source ~/.zshrc
jitsejan@theviji:~$ pyenv --version
pyenv 1.2.23
Because of Linux build problems as mentioned on the PyEnv Wiki I had to install the following packages to make pyenv work on Ubuntu.
jitsejan@theviji:~$ sudo apt-get install -y \
    build-essential \
    libssl-dev \
    zlib1g-dev \
    libbz2-dev \
    libreadline-dev \
    libsqlite3-dev \
    wget \
    curl \
    llvm \
    libncurses5-dev \
    libncursesw5-dev \
    xz-utils\
    tk-dev \
    libffi-dev \
    liblzma-dev \
    python-openssl \
    git
Finally, I'll install the latest Python version which is 3.9.2 at the time of writing and make it the default Python version using the pyenv global command so it will be used automatically in a virtual environment.
jitsejan@theviji:~$ pyenv install 3.9.2
jitsejan@theviji:~$ pyenv versions
* system (set by /home/jitsejan/.pyenv/version)
  3.9.2
jitsejan@theviji:~$ pyenv global 3.9.2
jitsejan@theviji:~$ pyenv versions
  system
* 3.9.2 (set by /home/jitsejan/.pyenv/version)
Poetry
Poetry will be installed for managing my virtual environments and packaging the Python repositories to be published to my private server.
jitsejan@theviji:~$ curl -sSL https://raw.githubusercontent.com/python-poetry/poetry/master/get-poetry.py | python -jitsejan@theviji:~$ source $HOME/.poetry/env
jitsejan@theviji:~$ poetry --version
Poetry version 1.1.5
And for shell completion I will add the following command to my zshell configuration. This makes it easier to work with poetry on the command line.
jitsejan@theviji:~$ poetry completions zsh > $ZSH_CUSTOM/plugins/poetry/_poetry
We are all set!
Setup PyPi server
Setting up the repository
The first step is to create a folder and initialize a Poetry package inside of it. I am using Python 3.9 and fill in the rest of the metadata.
jitsejan@theviji:~$ mkdir ~/python-packages
jitsejan@theviji:~$ cd $_
jitsejan@theviji:~/python-packages$ poetry init

This command will guide you through creating your pyproject.toml config.

...
jitsejan@theviji:~/python-packages$ cat pyproject.toml
[tool.poetry]
name = "python-packages"
version = "0.1.0"
description = "This project contains my Python packages."
authors = ["Jitse-Jan"]
license = "BSD"

[tool.poetry.dependencies]
python = "^3.9"

[tool.poetry.dev-dependencies]

[build-system]
requires = ["poetry-core>=1.0.0"]
build-backend = "poetry.core.masonry.api"
Installing the package
To host the Python packages I will be using pypiserver which is one of the recommended and easy ways to host your own PyPI server. For this project I will be using 1.4.2. It supports different backends but I will simply use the VPS as my storage to host the packages.
jitsejan@theviji:~/python-packages$ poetry add pypiserver
Creating virtualenv python-packages-nJx9lSAW-py3.9 in /home/jitsejan/.cache/pypoetry/virtualenvs
Using version ^1.4.2 for pypiserver

Updating dependencies
Resolving dependencies... (0.2s)

Writing lock file

Package operations: 1 install, 0 updates, 0 removals

  • Installing pypiserver (1.4.2)
Running the server
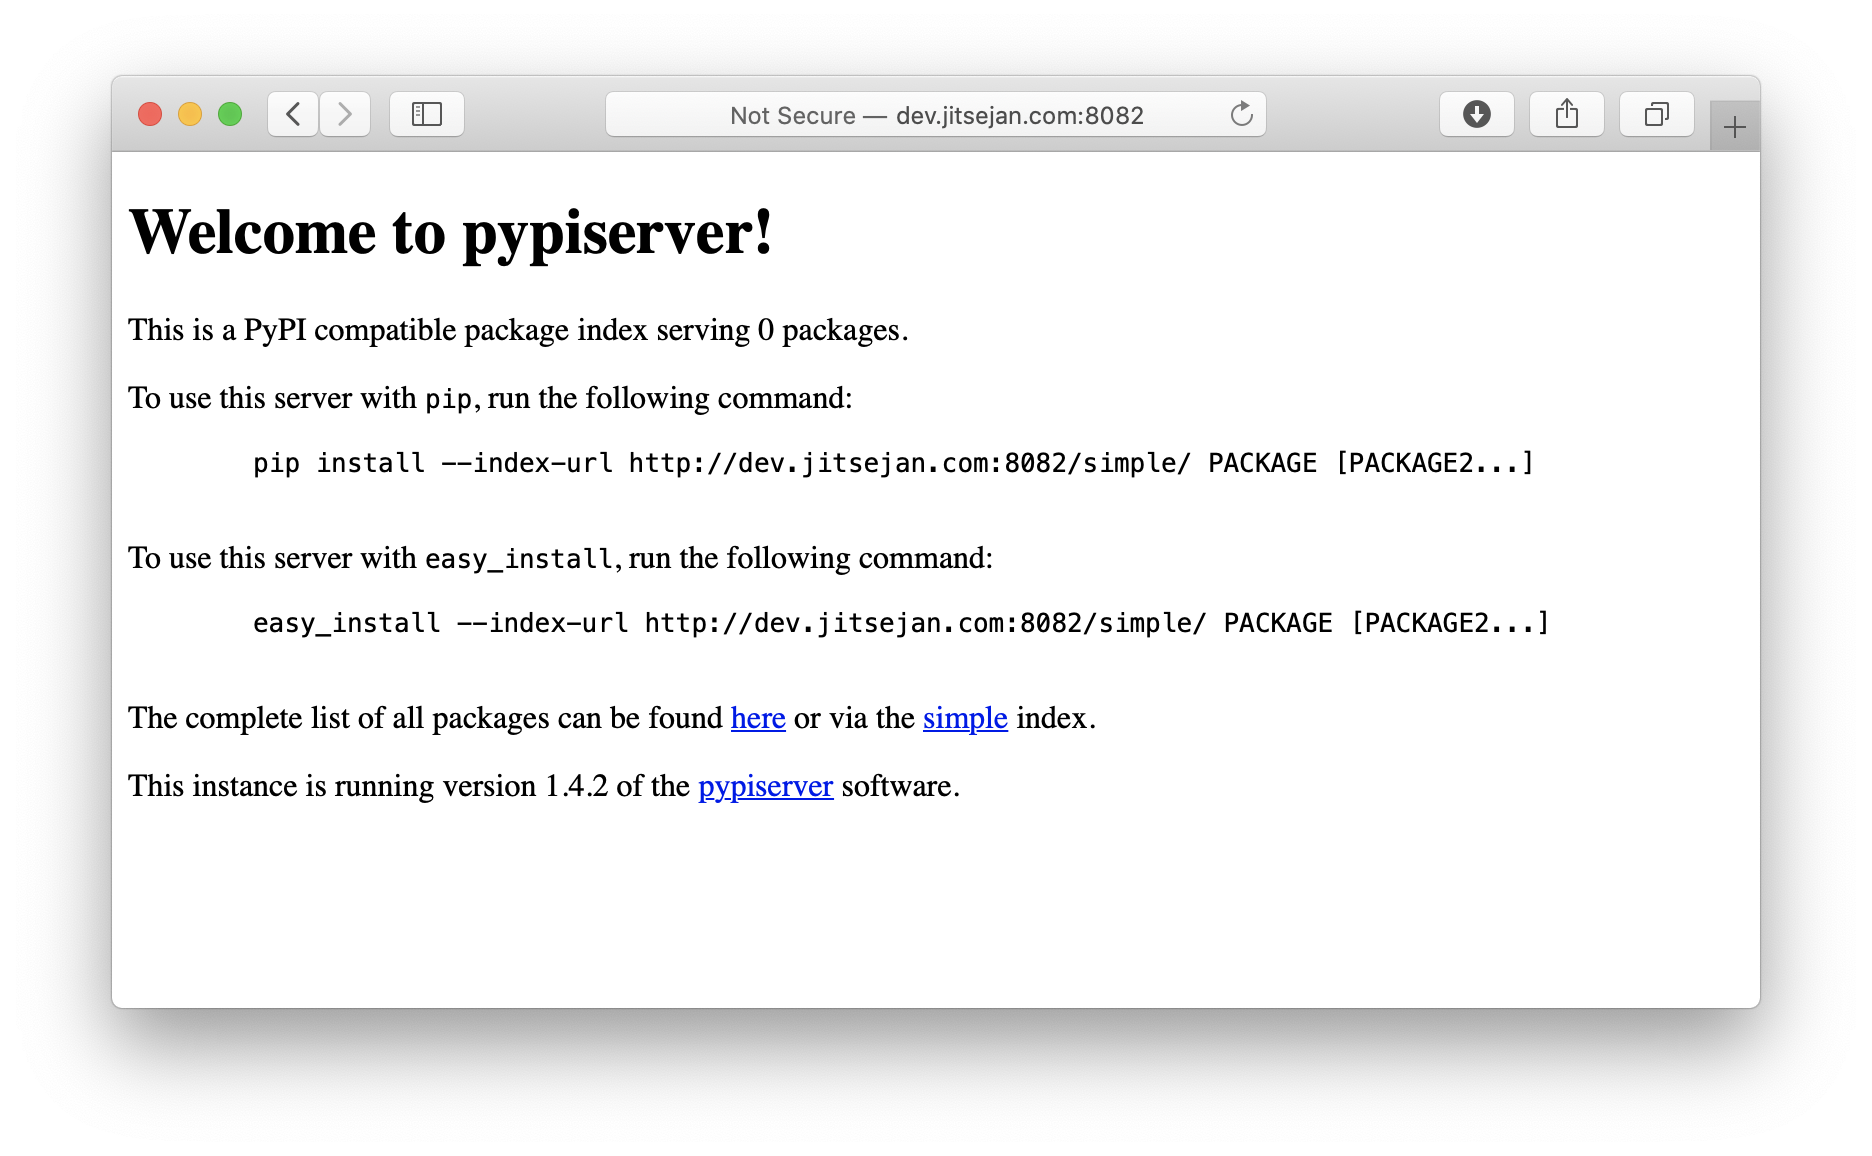
In order to run the server I activate the shell and start the pypi-server on port 8082. This port is by default public so be careful what to publish. When running it in production make sure to take care of the security.
jitsejan@theviji:~/python-packages$ poetry shell
Spawning shell within /home/jitsejan/.cache/pypoetry/virtualenvs/python-packages-nJx9lSAW-py3.9
. /home/jitsejan/.cache/pypoetry/virtualenvs/python-packages-nJx9lSAW-py3.9/bin/activate
jitsejan@theviji:~/python-packages$ . /home/jitsejan/.cache/pypoetry/virtualenvs/python-packages-nJx9lSAW-py3.9/bin/activate
(python-packages-nJx9lSAW-py3.9) jitsejan@theviji:~/python-packages$ pypi-server -p 8082 .
Navigating to my website and checking the port shows the welcome page of the server. So far so good.
Adding security
The next step is add a password to the server so only authenticated users can publish packages. The recommended way is to install passlib and create the .htaccess file with the password. Now when we start the server we add the -P argument with the newly created .htaccess file.
jitsejan@theviji:~$ sudo apt install apache2-utils
jitsejan@theviji:~/python-packages$ poetry add passlib
jitsejan@theviji:~/python-packages$ htpasswd -sc .htaccess pyjitsejan
New password:
Re-type new password:
Adding password for user pyjitsejan
jitsejan@theviji:~/python-packages$ pypi-server -p 8082 -P .htaccess
Creating subdomain
To make it cleaner and easier to connect to the server I will be using a subdomain instead of a public port to connect to the server. For this I will use the Nginx webserver.
jitsejan@theviji:~/python-packages$ cd ..
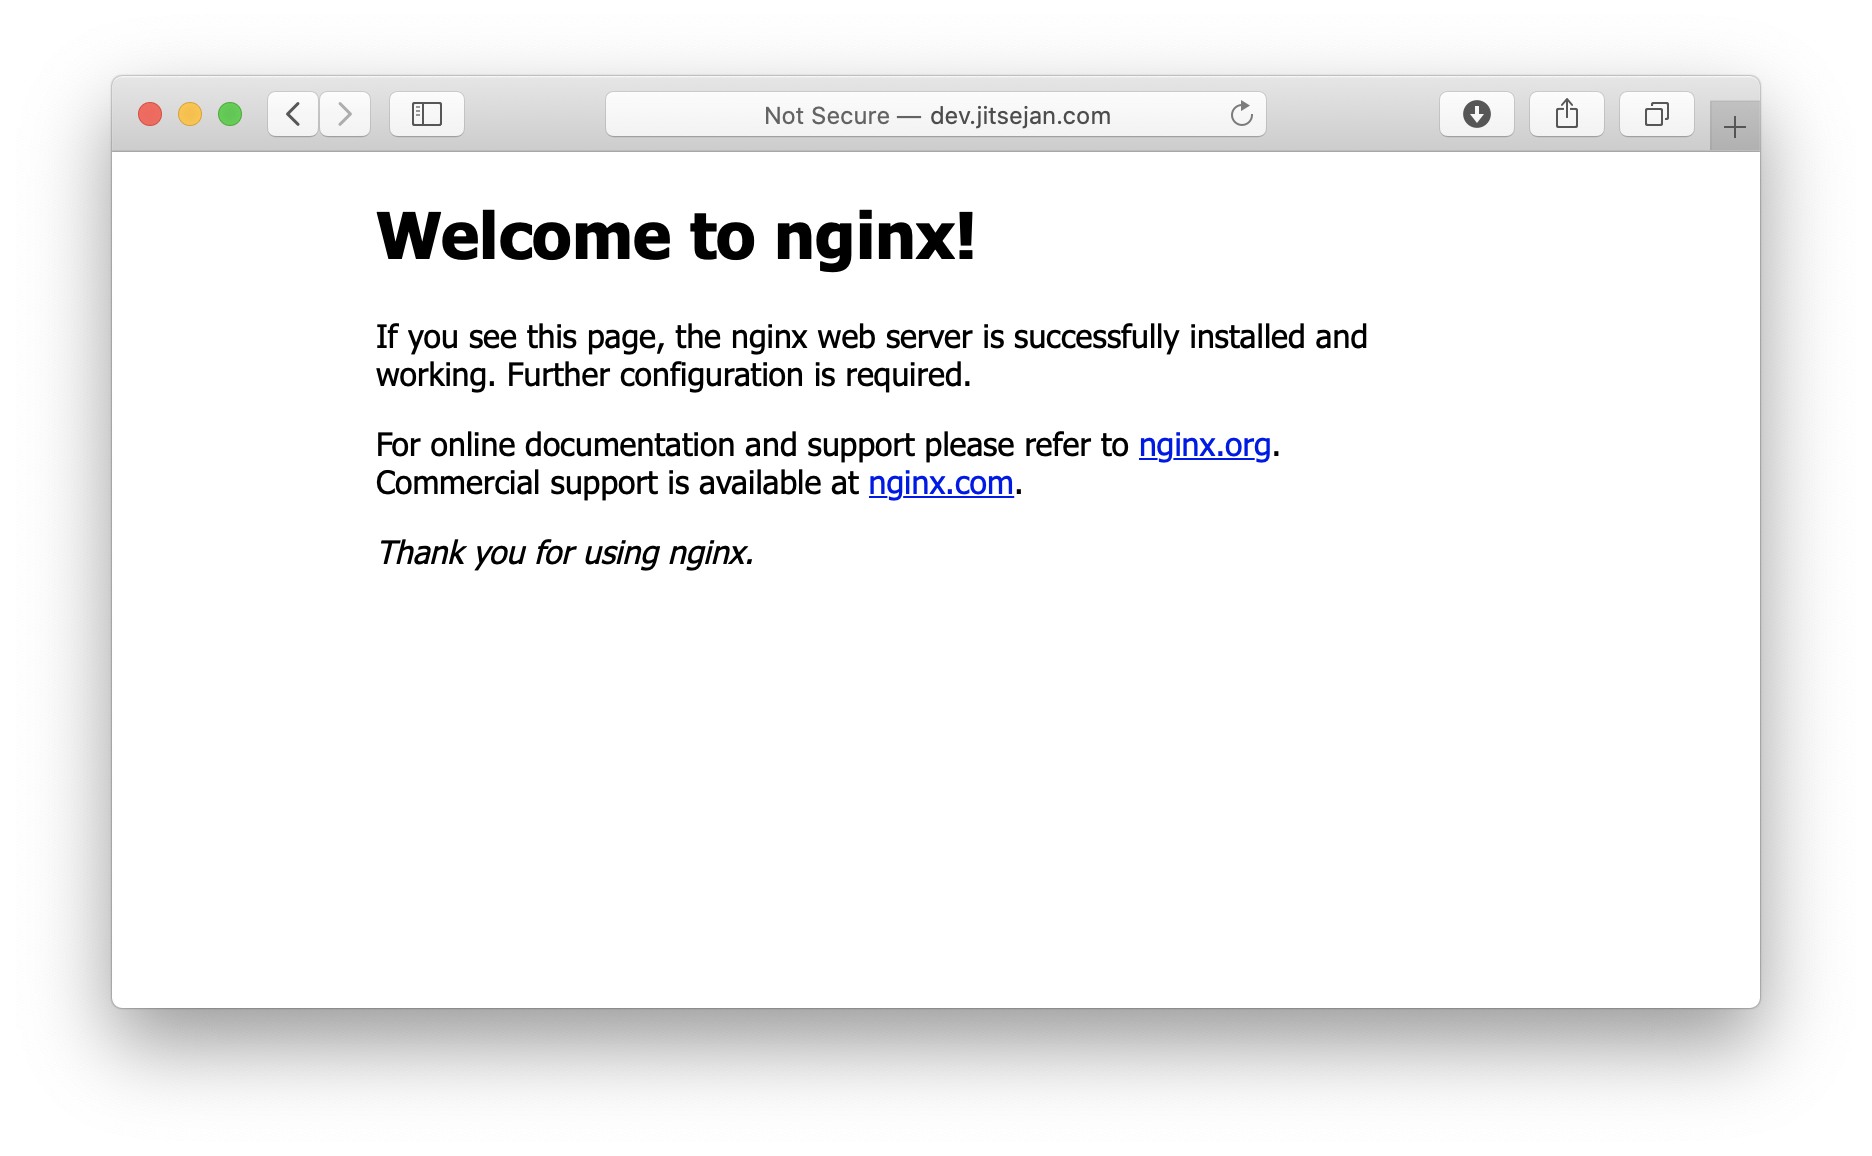
~ ❯ sudo apt install nginx
After installing nginx we can see the welcome page by going back to my domain.
To use a subdomain with Nginx that points to the port I'll be adding the new subdomain pypi.jitsejan.com and create the configuration in the sites-available folder.
jitsejan@theviji:~$ sudo touch /etc/nginx/sites-available/pypi.jitsejan.com
The content of the file is as follows. It will listen to port 80 and redirect to port 8082 if the request name is pypi.jitsejan.com.
upstream pypi {
  server 127.0.0.1:8082 fail_timeout=0;
}
server {
  listen 80;
  server_name pypi.jitsejan.com;
  location / {
    proxy_set_header Host $host;
    proxy_set_header X-Real-IP $remote_addr;
    proxy_set_header X-Forwarded-Proto https;
    proxy_set_header X-Forwarded-For $proxy_add_x_forwarded_for;
    add_header Pragma "no-cache";
    proxy_pass http://pypi;
  }
}
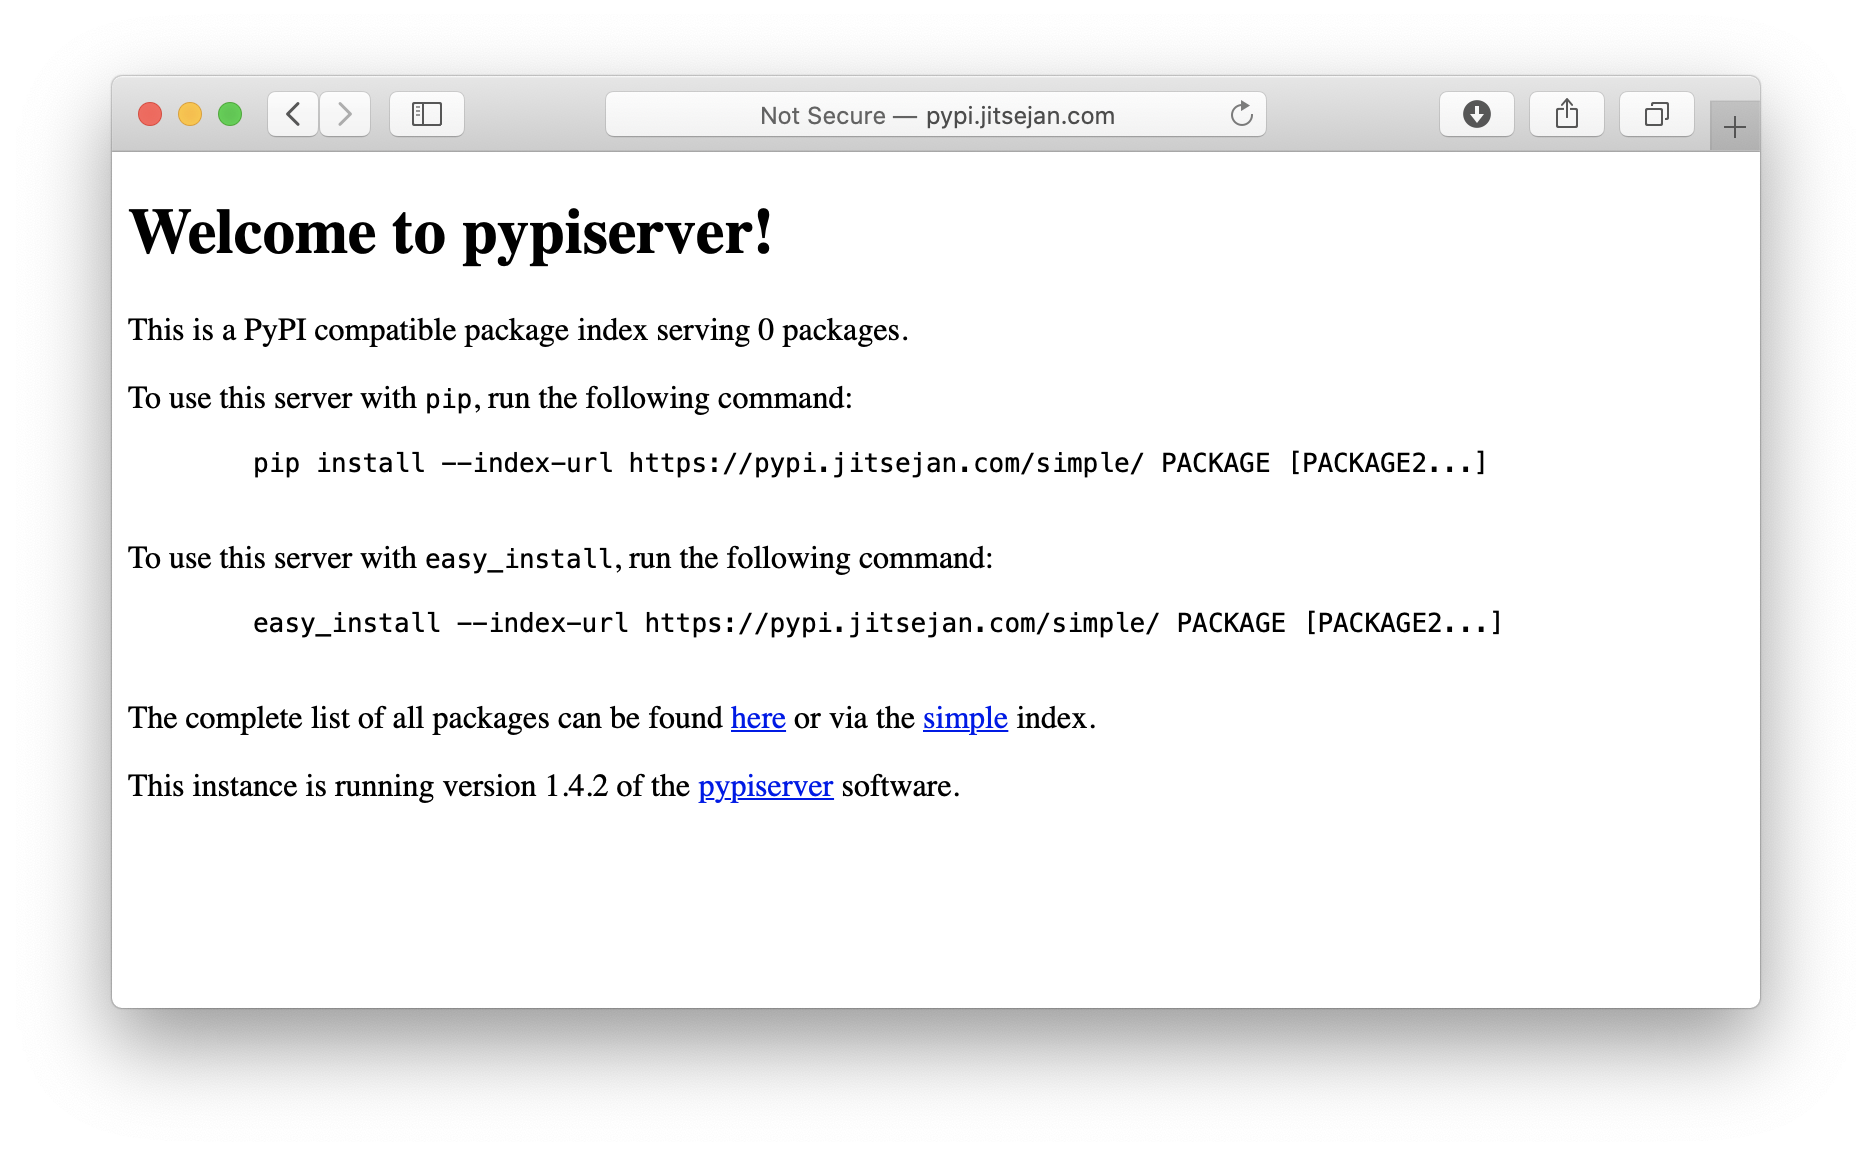
The final step to make the domain available is by enabling the new configuration by creating a system link in the sites-enabled folder and restart the webserver. Now instead of hosting the PyPi server publically I enable it only for localhost and let Nginx take care of the redirection. The --overwrite argument enables me to overwrite existing packages, without this flag you will get an error trying to upload the same package twice.
jitsejan@theviji:~$ sudo ln -s /etc/nginx/sites-available/pypi.jitsejan.com /etc/nginx/sites-enabled
~ ❯ sudo service nginx restart
jitsejan@theviji:~/python-packages$ pypi-server -i 127.0.0.1 -p 8082 -P .htaccess --overwrite .
After creating a new entry in my DNS records at Cloudflare I am ready to verify my new subdomain.

Enabling SSL
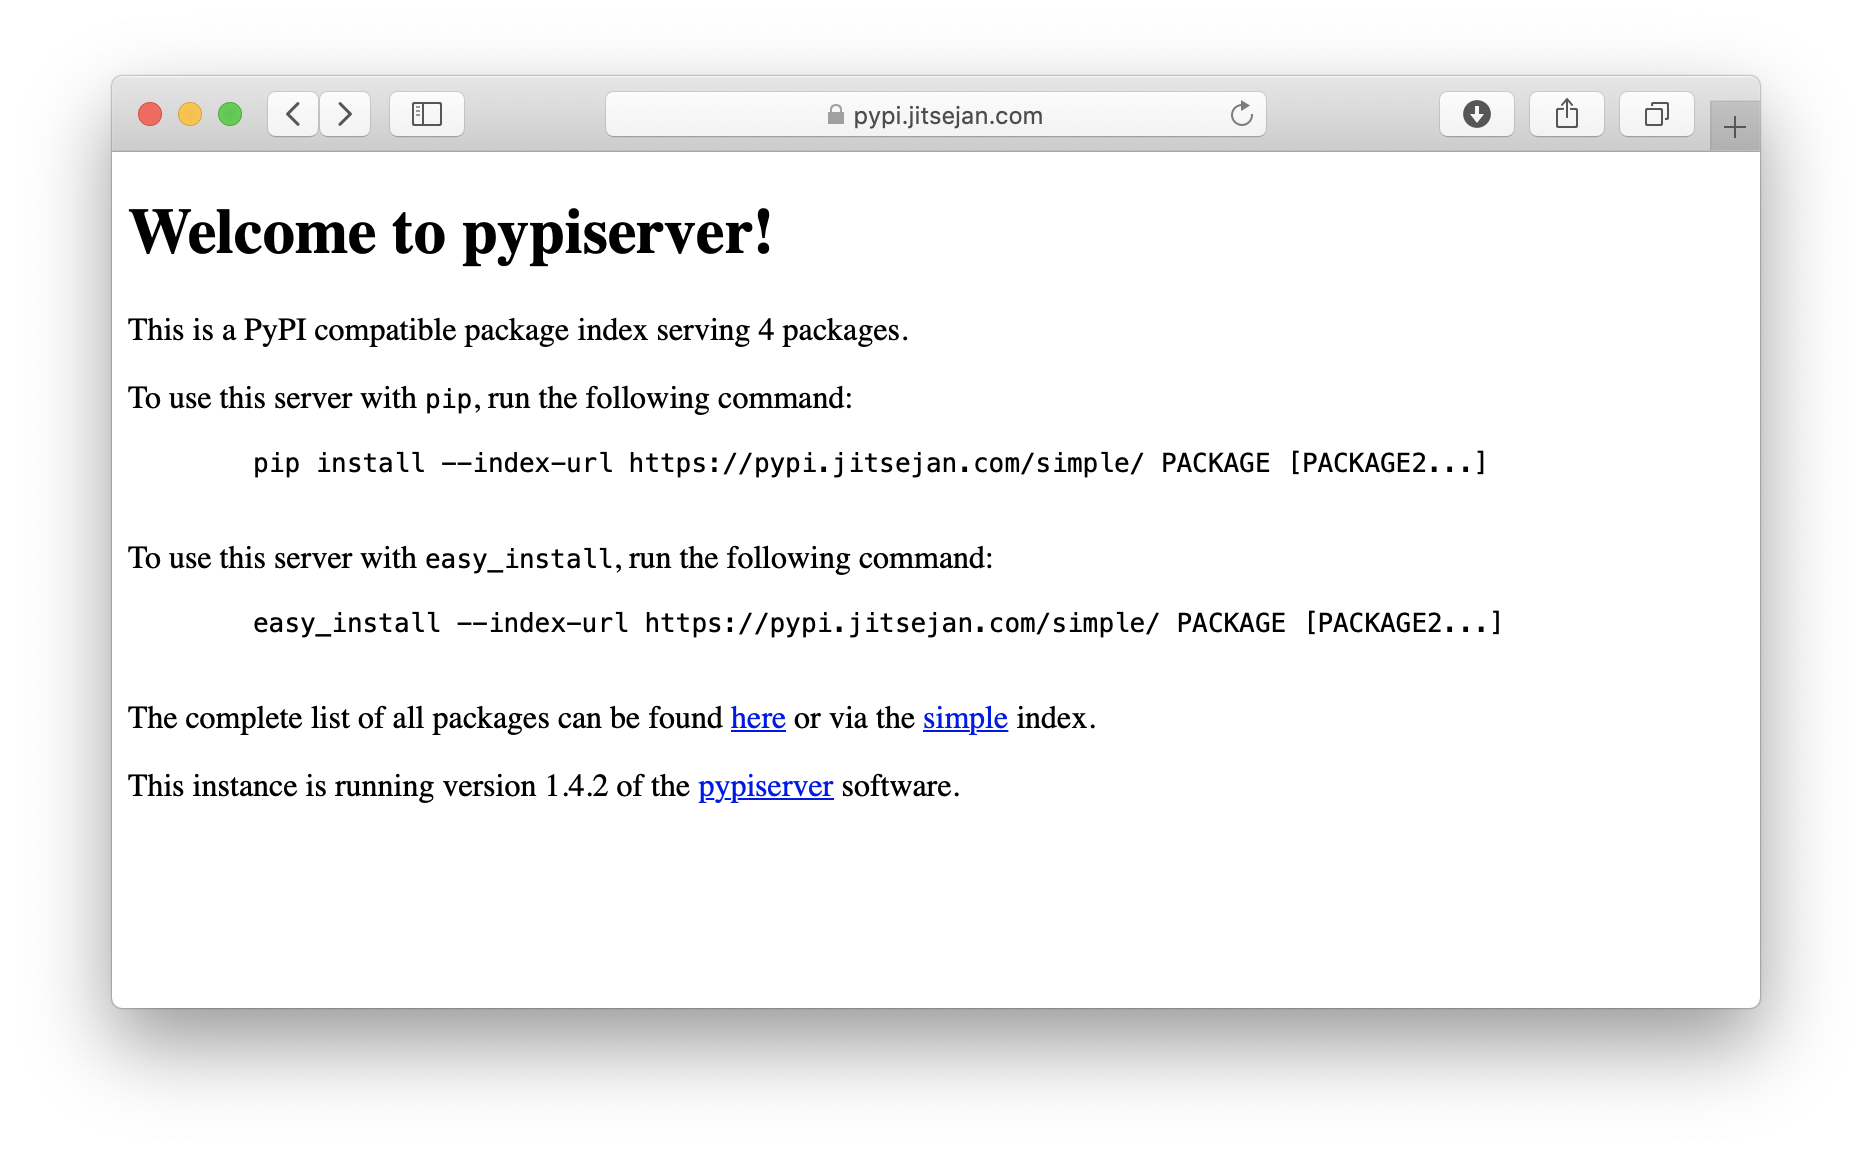
The last thing I will add to the server is a certificate so we can get rid of the Not Secure warning in the address bar and actually use a secure HTTP connection. In order to do this I install certbot and the integration for Nginx.
jitsejan@theviji:~$ sudo apt-get install certbot
jitsejan@theviji:~$ sudo apt-get install python3-certbot-nginx
jitsejan@theviji:~$ sudo certbot --nginx -d pypi.jitsejan.com
Enable automatic refresh of the SSL certificate by adding a rule to your crontab. This will make sure the certbot recreates the SSL certificate before it expires.
jitsejan@theviji:~$ crontab -e
and add the following:
0 12 * * * /usr/bin/certbot renew --quiet
Basic packaging
Using Poetry I will create a simple package to try publishing a package to the server. Use poetry new to create a default package template.
jitsejan@theviji:~/code$ poetry new hello-poetry
Created package hello_poetry in hello-poetry
jitsejan@theviji:~/code$ cd hello-poetry/
jitsejan@theviji:~/code/hello-poetry$ tree .
.
├── hello_poetry
│   └── __init__.py
├── pyproject.toml
├── README.rst
└── tests
    ├── __init__.py
    └── test_hello_poetry.py

2 directories, 5 files
As the dev repository I will use the server that I have just created before. Once I have configured the repo I can publish to dev. Poetry will pack the content in a TAR ball and publish it to the PyPI server.
jitsejan@theviji:~/code/hello-poetry$ poetry config repositories.dev https://pypi.jitsejan.com
jitsejan@theviji:~/code/hello-poetry$ poetry publish -r dev No suitable keyring backends were found
Using a plaintext file to store and retrieve credentials
Username: pyjitsejan
Password:
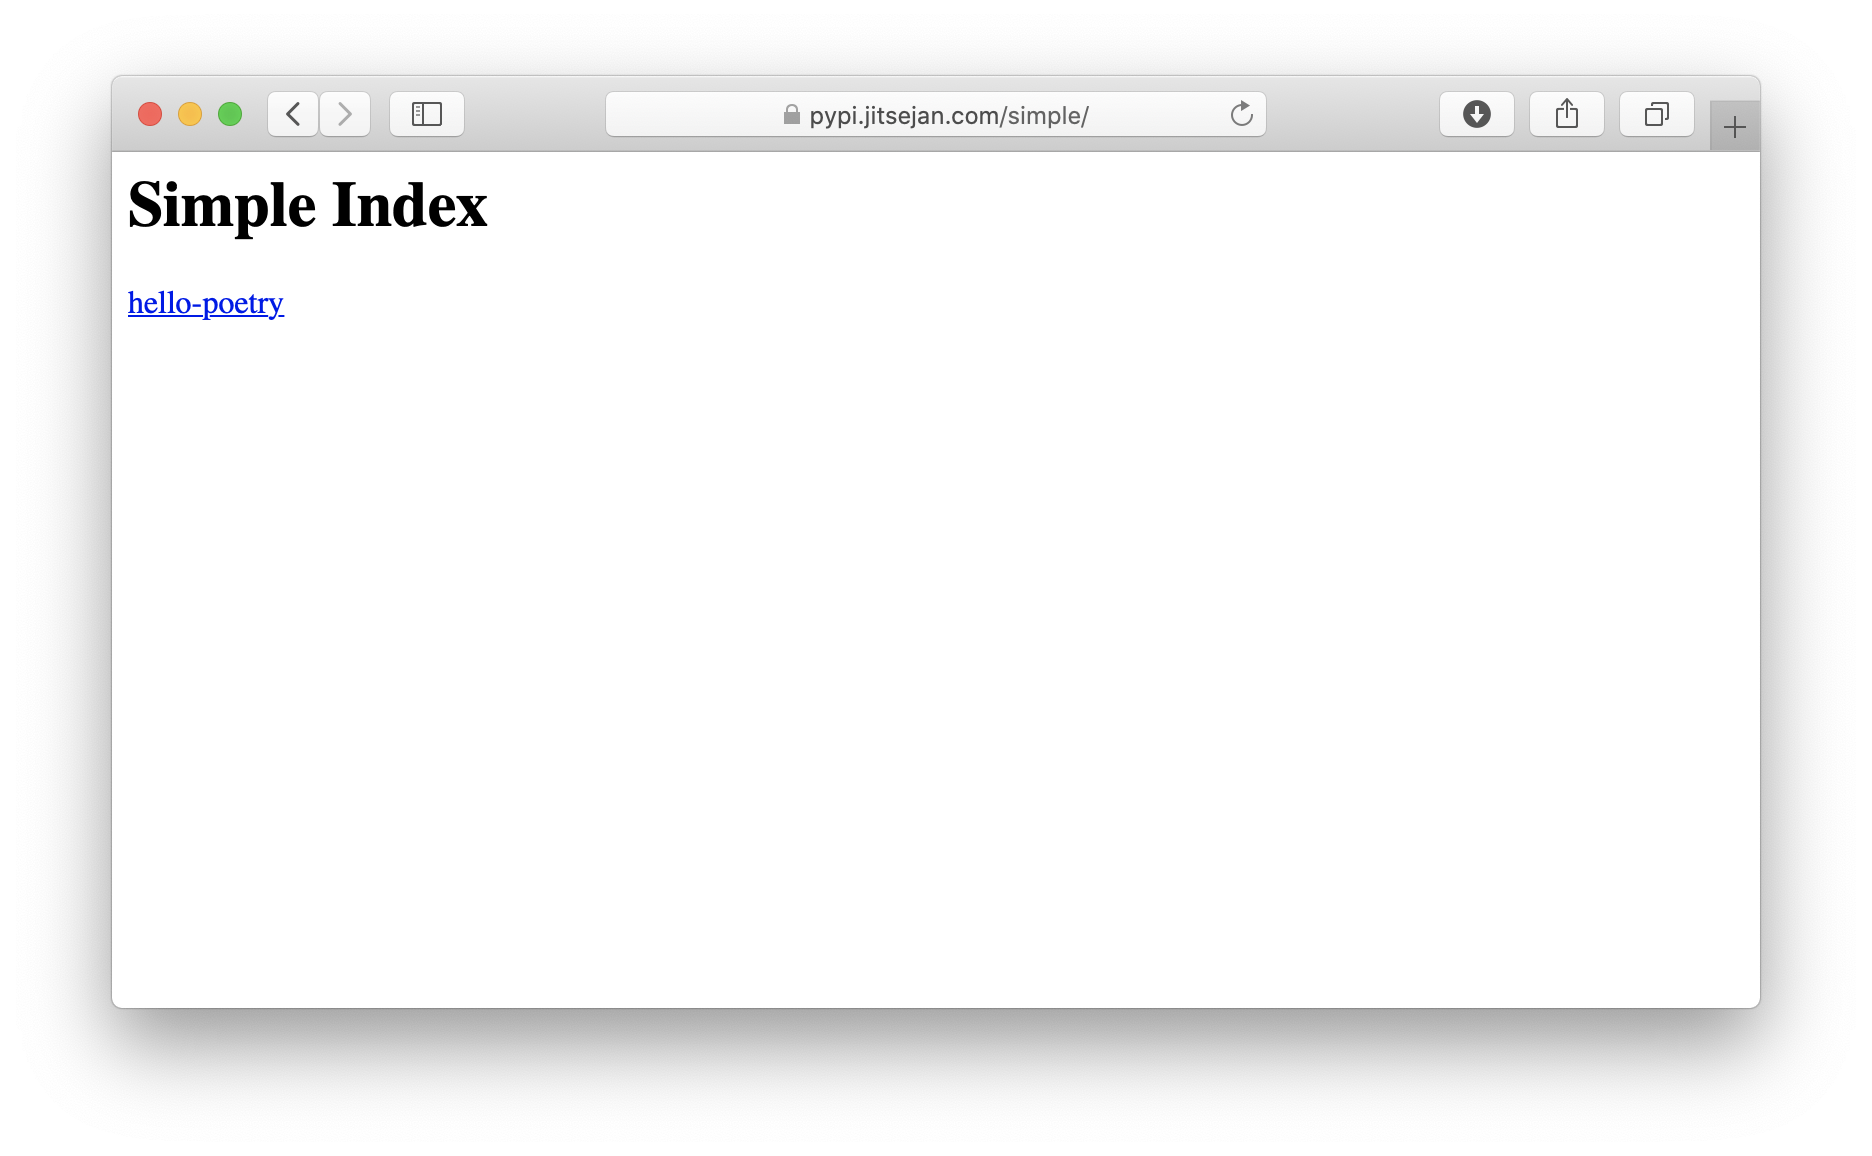
Publishing hello-poetry (0.1.0) to dev
- Uploading hello-poetry-0.1.0.tar.gz 100%
- Uploading hello_poetry-0.1.0-py3-none-any.whl 100%
Navigating to the Simple Index I can see the hello-poetry package is now available on the server.
To avoid the need to type the username and password every time I want to push my package I set them through the poetry config.
jitsejan@theviji:~/code/hello-poetry$ poetry config http-basic.dev pyjitsejan Sup3rS3cr3t£
Bump version
As an additional test of packaging I will add a simple class to hello_poetry/hellopoetry.py inside my hello-poetry project. It does nothing more than printing Hello Poetry once it gets instantiated.
class HelloPoetry:

    def __init__(self):
        print("Hello Poetry")
The structure of the repository now looks like this:
jitsejan@theviji:~/code/hello-poetry $ tree .
├── hello_poetry
│   ├── hellopoetry.py
│   └── __init__.py
├── poetry.lock
├── pyproject.toml
├── README.md
└── tests
    ├── __init__.py
    └── test_hello_poetry.py
Using poetry version I bump the package version to 0.2.0 which will update the pyproject.toml file. With the new version in place I rerun the build step which will print it is adding the distribution for the new version. Finally, this new package gets published to the private PyPi server.
jitsejan@theviji:~/code/hello-poetry$ poetry version 0.2.0
Bumping version from 0.1.0 to 0.2.0
jitsejan@theviji:~/code/hello-poetry$ poetry build                                                                      Building hello-poetry (0.2.0)
  - Building sdist
  - Built hello-poetry-0.2.0.tar.gz
  - Building wheel
  - Built hello_poetry-0.2.0-py3-none-any.whl
jitsejan@theviji:~/code/hello-poetry$ poetry publish -r dev                                                          Publishing hello-poetry (0.2.0) to dev
 - Uploading hello-poetry-0.2.0.tar.gz 100%
 - Uploading hello_poetry-0.2.0-py3-none-any.whl 100%
Installation
Option 1 - Install using pip
Option 1.1 - Specifying the argument via the CLI
❯ pip install --extra-index-url https://pypi.jitsejan.com/simple --trusted-host pypi.jitsejan.com hello-poetry
Option 1.2 - Set the PypPi configuration
Add the following to ~/.config/pip/pip.conf.
[global]
timeout = 60
extra-index-url = https://pypi.jitsejan.com/simple
Now pip will look at the normal index as well as the custom index:
❯ pip install hello-poetry
Looking in indexes: https://pypi.org/simple, https://pypi.jitsejan.com/simple
...
Installing collected packages: hello-poetry
Successfully installed hello-poetry-0.2.0
Option 2 - Install using poetry
Assuming you are already in a poetry repository/environment you only need to add the extra source ([[tool.poetry.source]])to the project configuration pyproject.toml:
[tool.poetry]
name = "testpypi"
version = "0.1.0"
description = ""
authors = ["Jitse-Jan <[email protected]>"]

[tool.poetry.dependencies]
python = "^3.9"

[tool.poetry.dev-dependencies]

[[tool.poetry.source]]
name = "pyjitsejan"
url = "https://pypi.jitsejan.com/simple/"

[build-system]
requires = ["poetry-core>=1.0.0"]
build-backend = "poetry.core.masonry.api"
Now that the extra index is added installation of my package will succeed and add it to the project dependencies.
❯ poetry add hello-poetry
Using version ^0.2.0 for hello-poetry

Updating dependencies
Resolving dependencies... (4.1s)

Writing lock file

Package operations: 6 installs, 0 updates, 0 removals

  • Installing certifi (2020.12.5)
  • Installing chardet (4.0.0)
  • Installing idna (2.10)
  • Installing urllib3 (1.26.4)
  • Installing requests (2.25.1)
  • Installing hello-poetry (0.2.0)
Checking the pyproject.toml I can confirm it is now expecting at least version 0.2.0.
[tool.poetry.dependencies]
python = "^3.9"
hello-poetry = "^0.2.0"
Usage
After installing the package through one of the above mentioned methods, or your own fancy way, it is time to check if the package is actually working. I have a simple test.py file that will import the class and create an instance. This should print Hello Poetry if all is correct.
# test.py
from hello_poetry.hellopoetry import HelloPoetry

h = HelloPoetry()
Running this outputs the expected string!
❯ python test.py
Hello Poetry
Note that I could probably do better with naming the folders given that inside my hello-poetry repository I have the hello_poetry folder containing the hellopoetry.py file with the HelloPoetry class. Using the bad naming convention it does make it easier where things are located. Obviously in a real package the naming would make more sense, i.e. from myconnectors.databaseconnector import DatabaseConnector.
Please see my Github repository with the final code.
Sources
- https://pip.pypa.io/en/stable/user_guide/
- https://pypi.org/project/pypiserver/
- https://github.com/pyenv/pyenv
- https://github.com/pyenv/pyenv-installer
- https://github.com/python-poetry/poetry
- https://www.nginx.com/blog/using-free-ssltls-certificates-from-lets-encrypt-with-nginx/
- https://medium.com/@christianhettlage/setting-up-a-pypi-server-679f1b55b96
- https://medium.com/lambda-automotive/python-poetry-finally-easy-build-and-deploy-packages-e1e84c23401f