Getting the lead time for Jira tickets
Goal
This is a simple example on how to retrieve the changelog of your Jira tickets using Python and requests and calculate the lead time. You could also use the Python Jira module but by using plain requests the following code can easily be copied to other languages.
Setting up
Either you can use the Jira instance you use at work or simply create a free account at Atlassian.com.

Note: setting up a new instance using GMail or another other Single Sign On method will not give you a Jira password. You do not need it if you can use the API token for logging in to your Jira instance but in case you do need a password logout of the account and on the login page click on "Can't log in?".
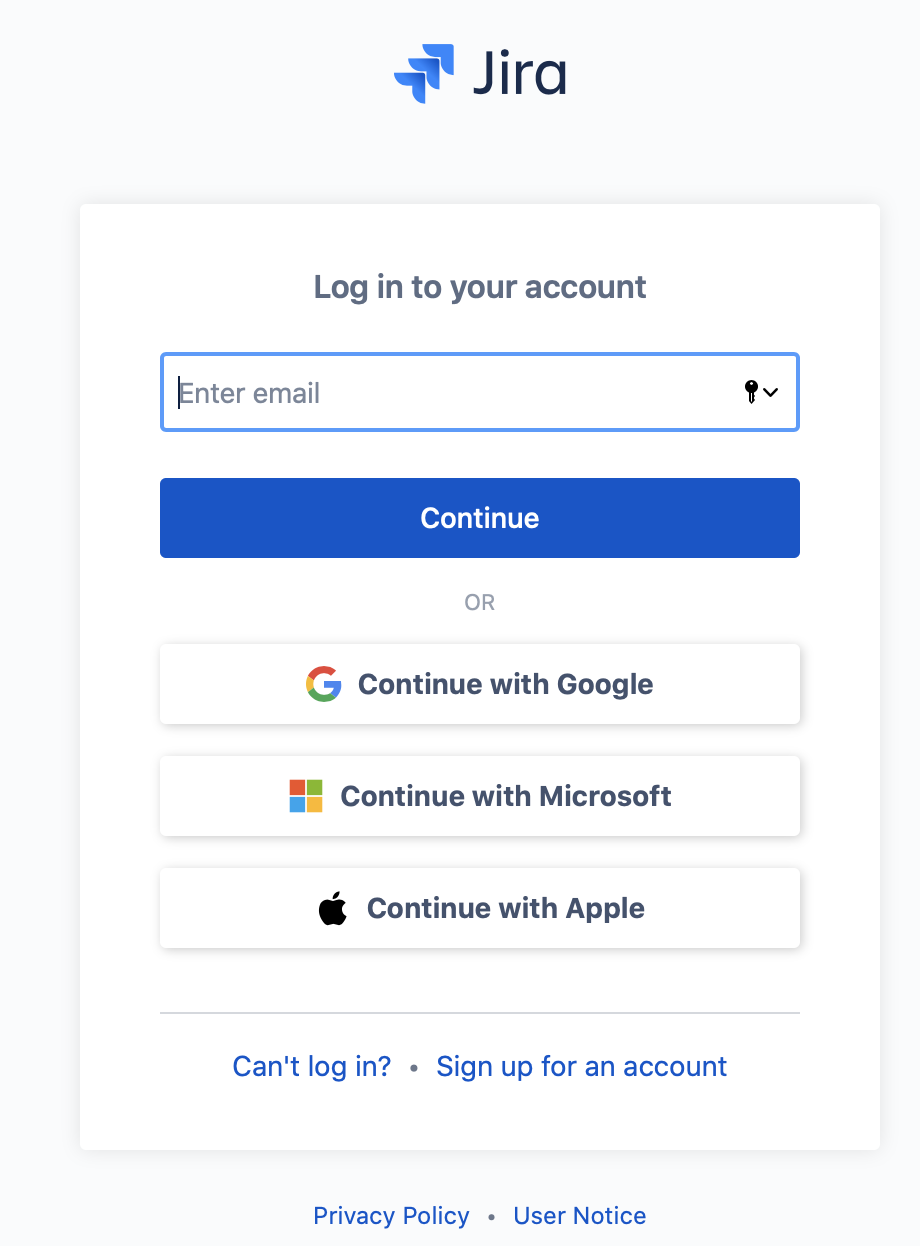
Fill in the email address you used to sign up for Jira and click on "Send recovery link" to set a password.
Authenticating
In case of using the free instance that Jira provides authentication is done through the API token. Navigate to your Atlassian account > Security and click on "Create and manage API tokens" under API token.
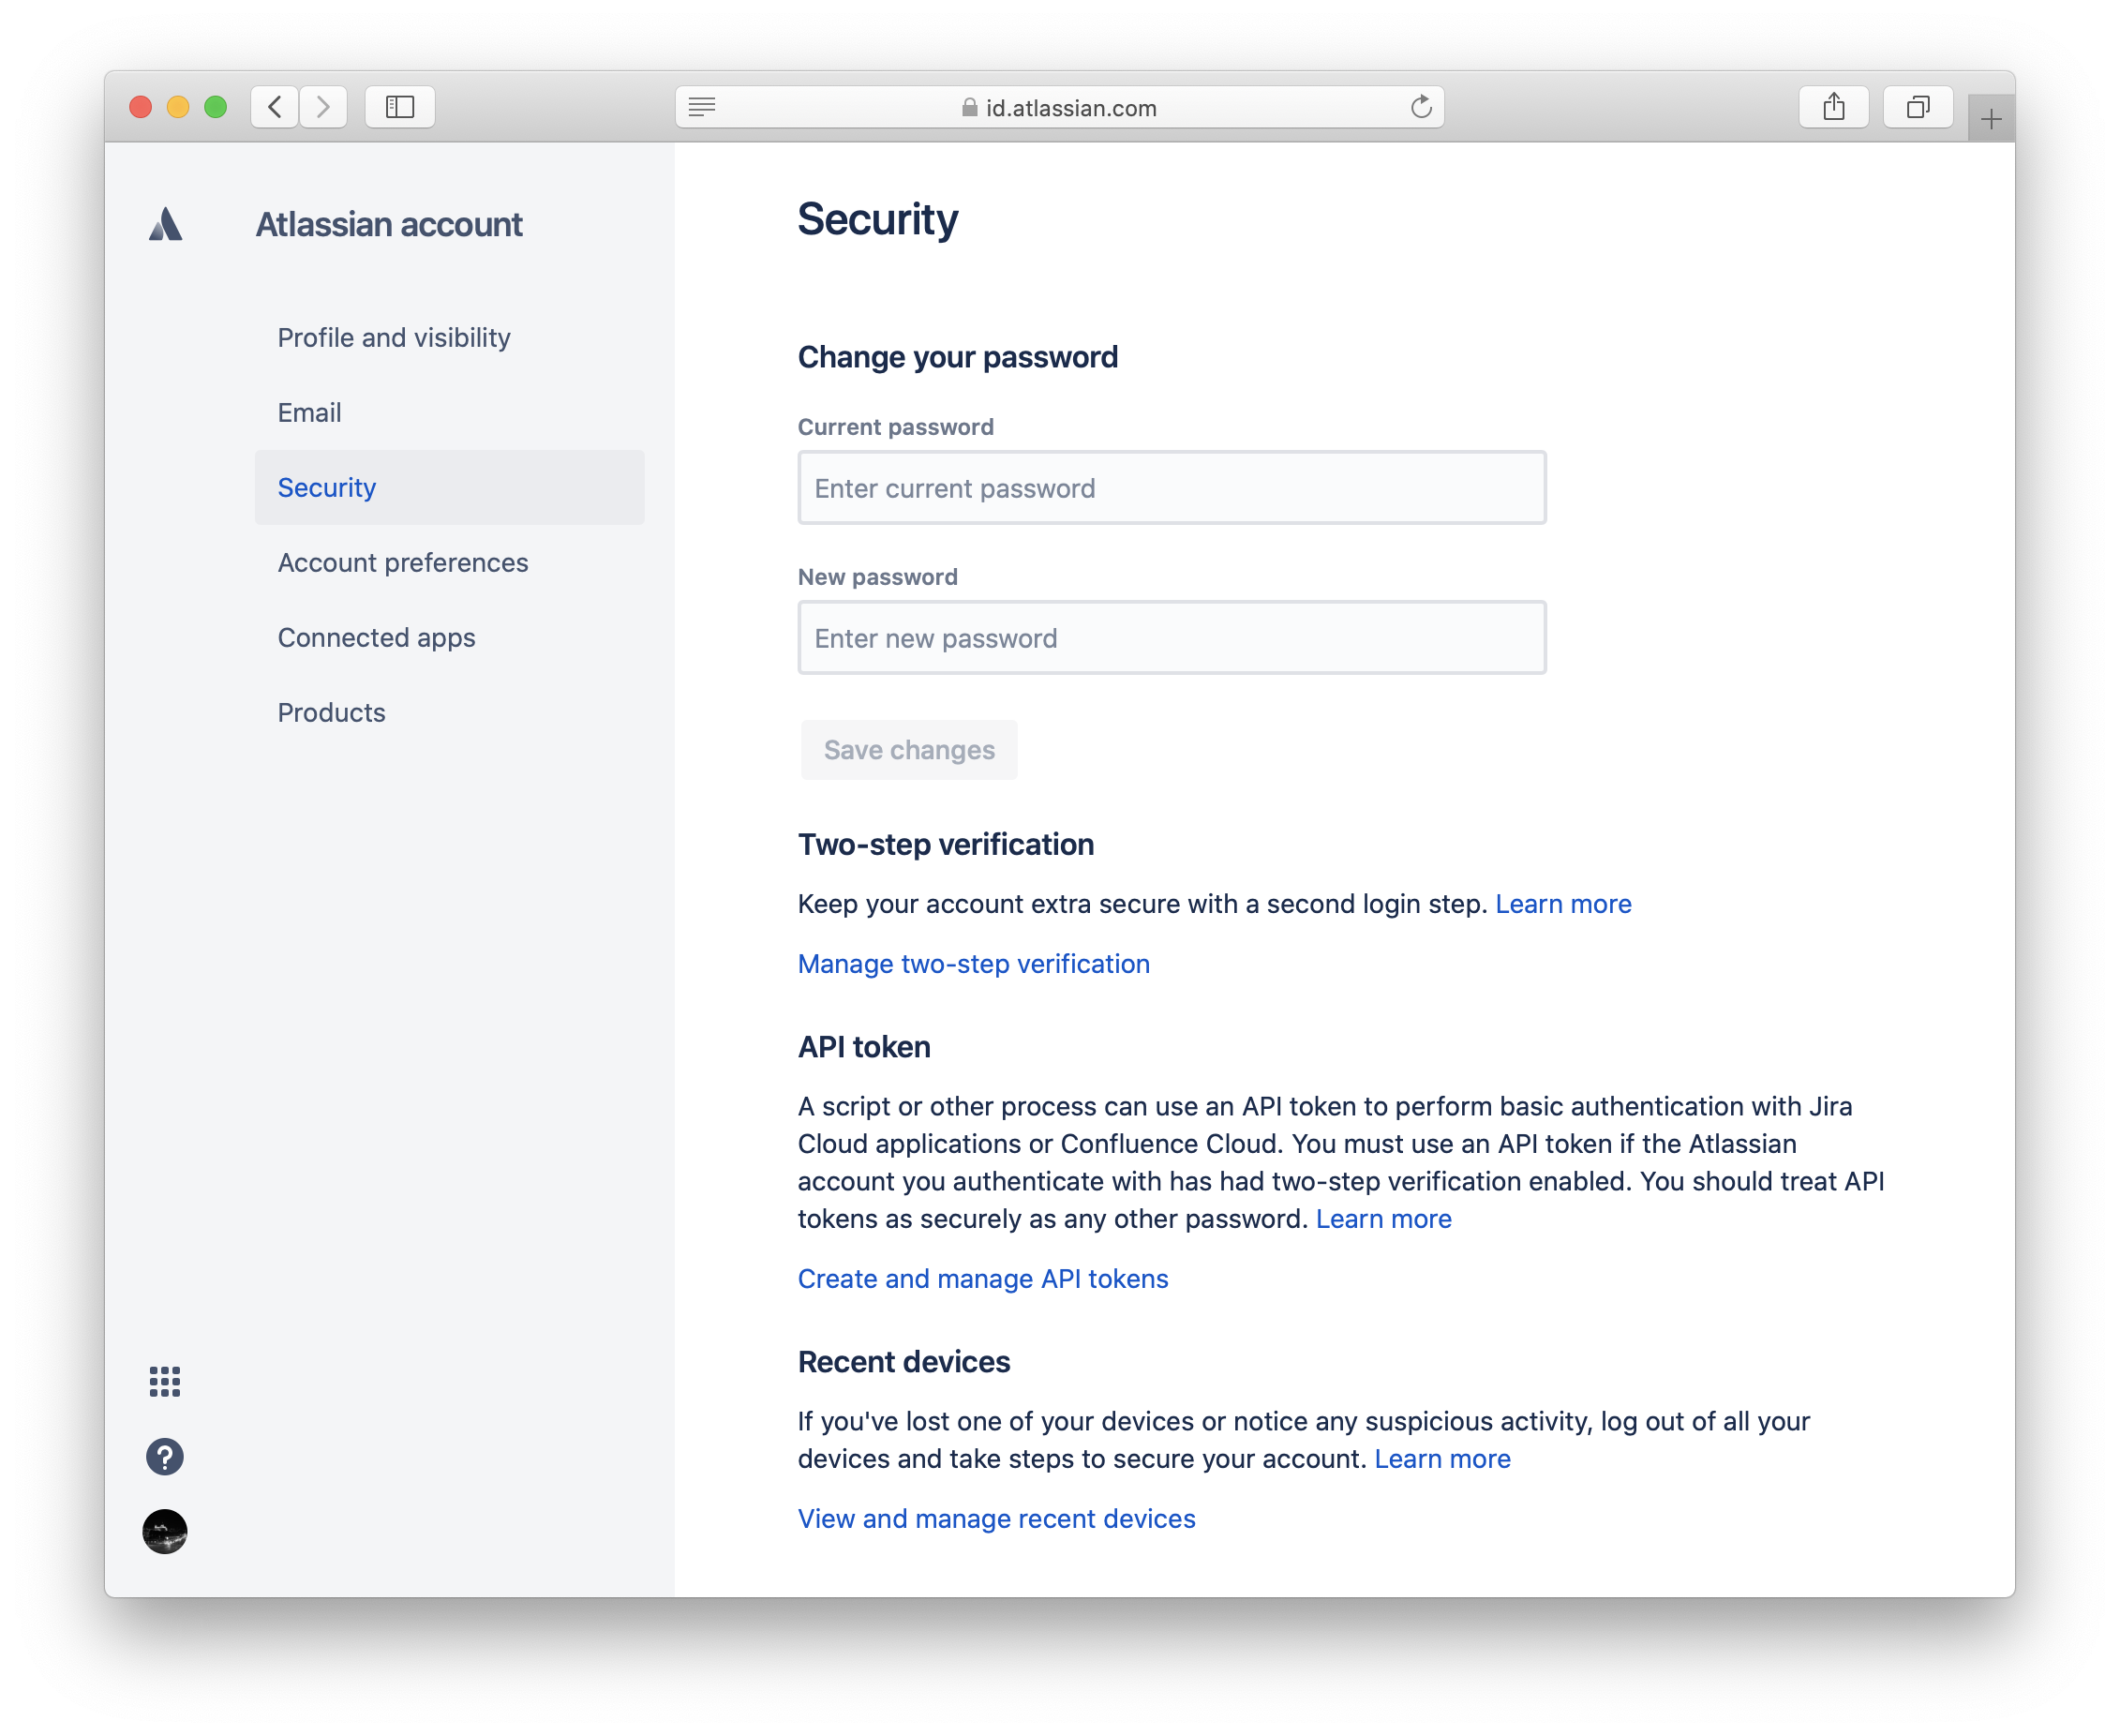
In case you have started from scratch there will be no API tokens yet.
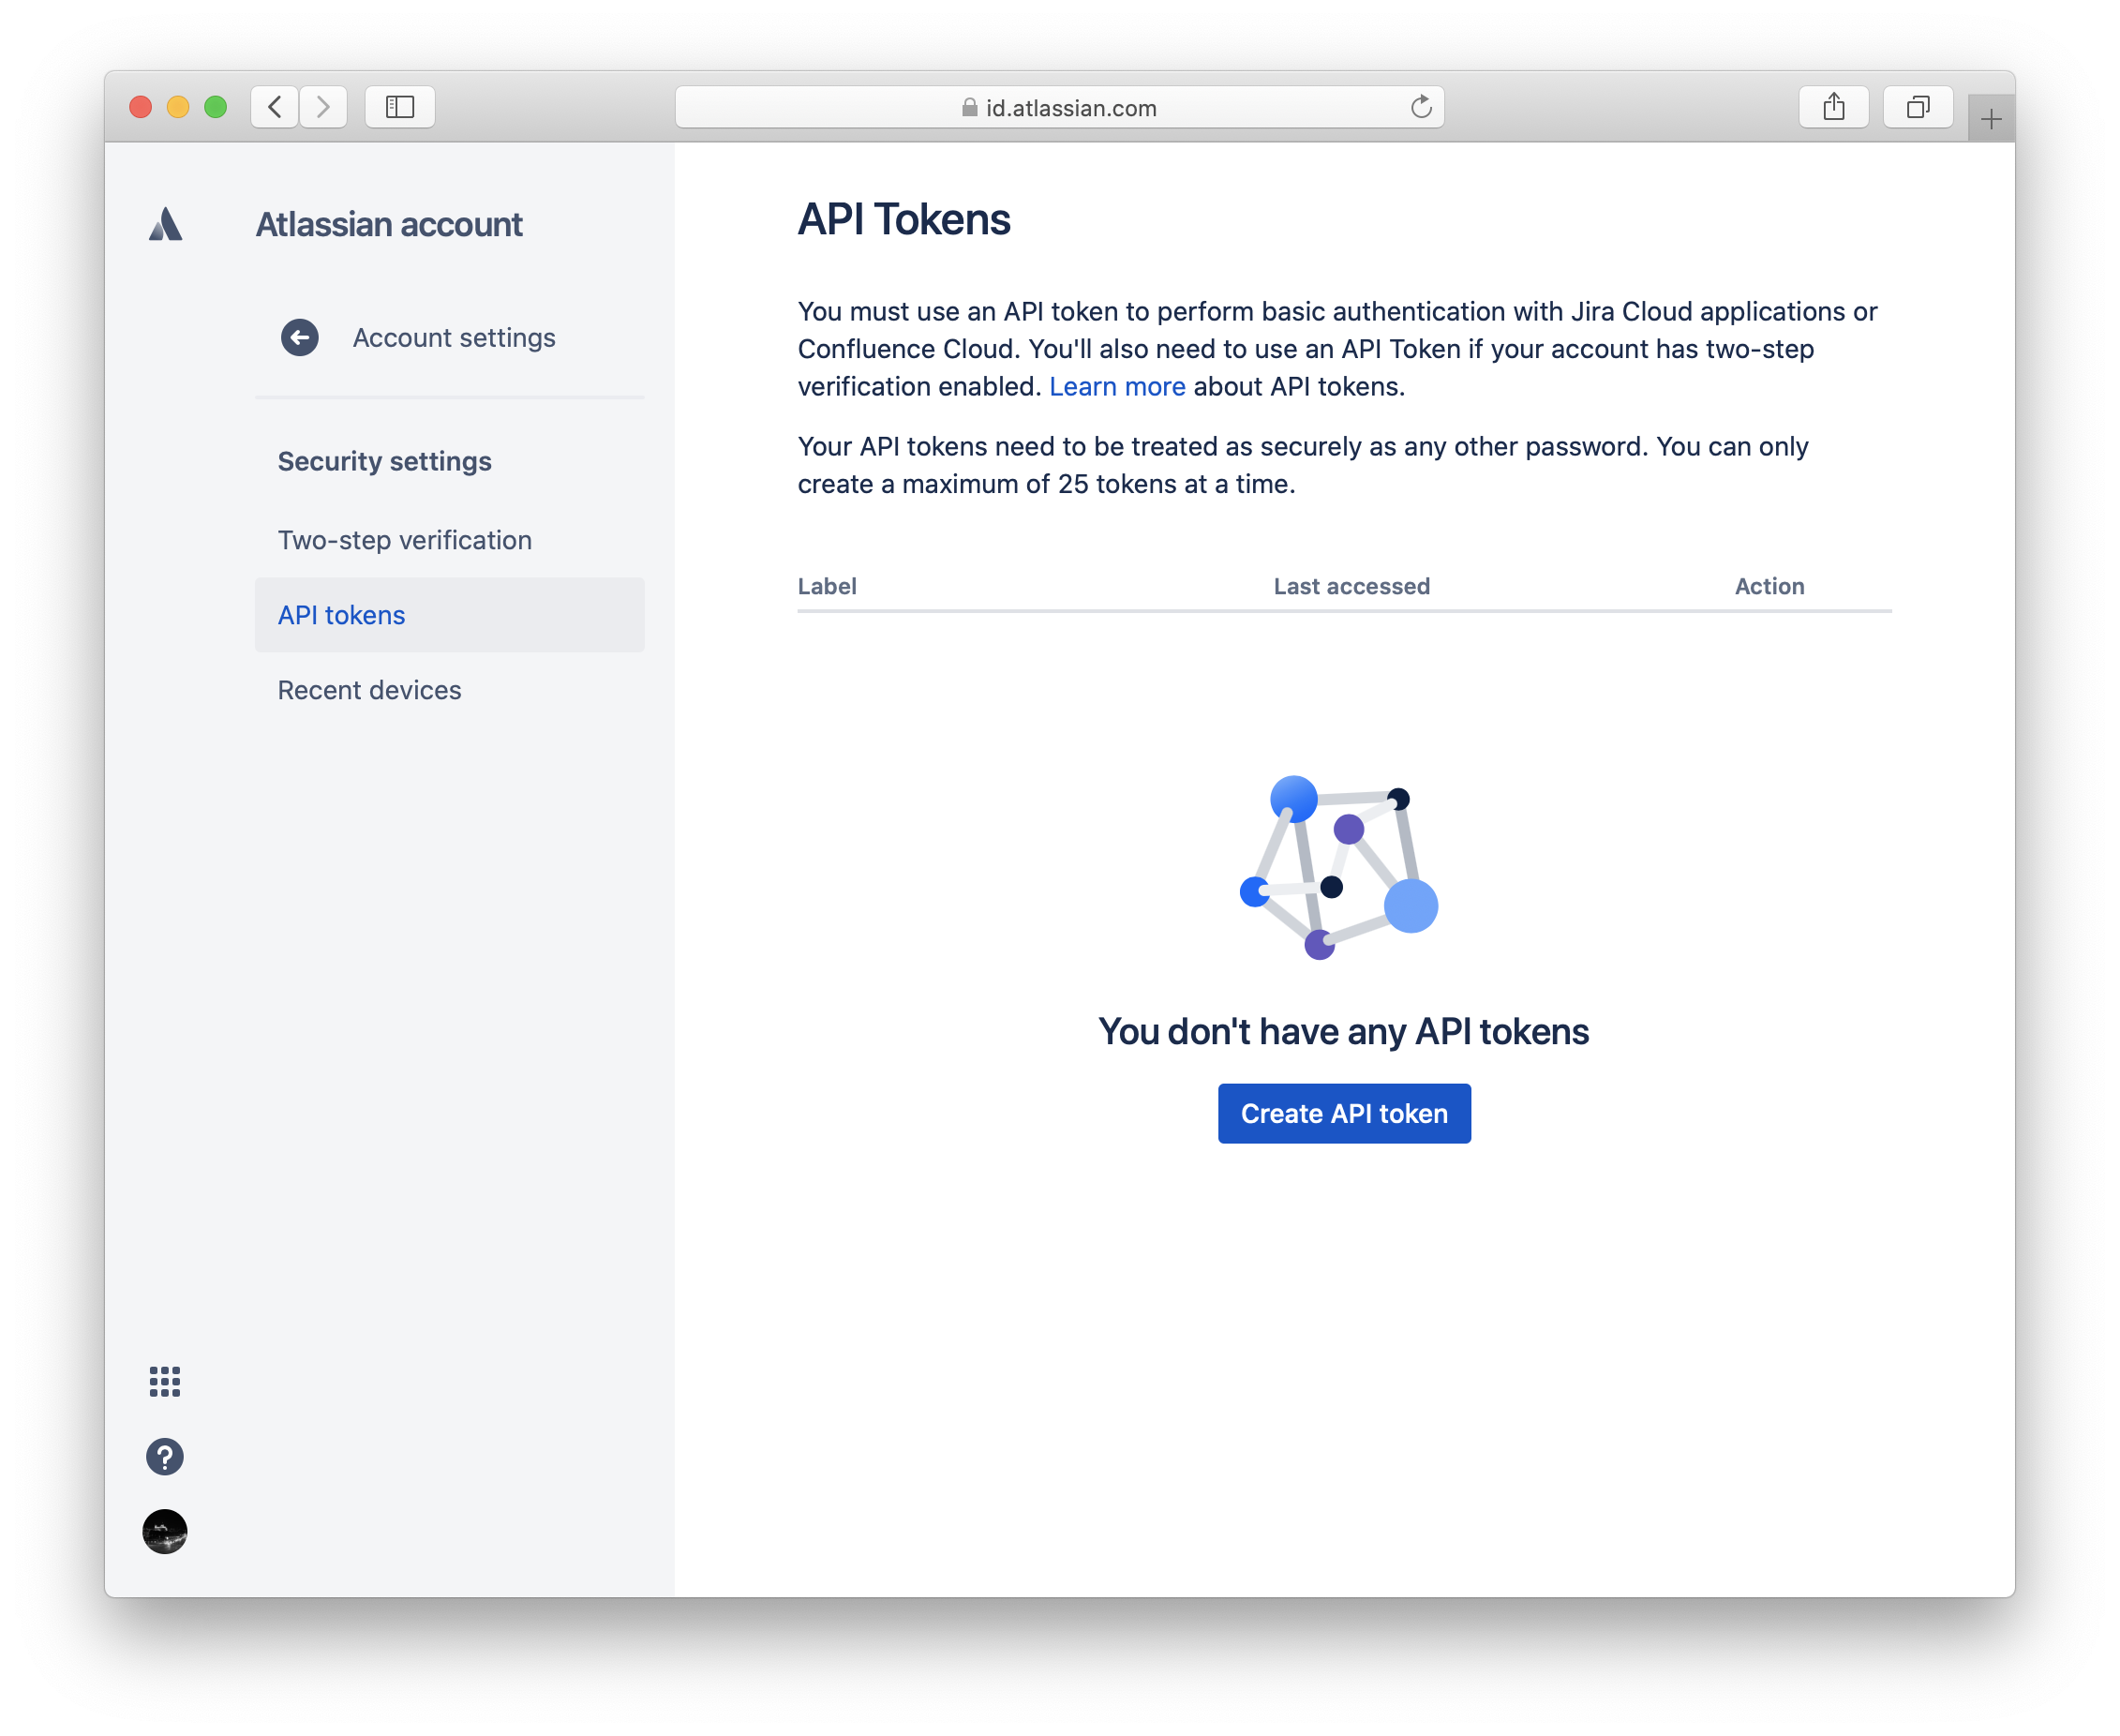
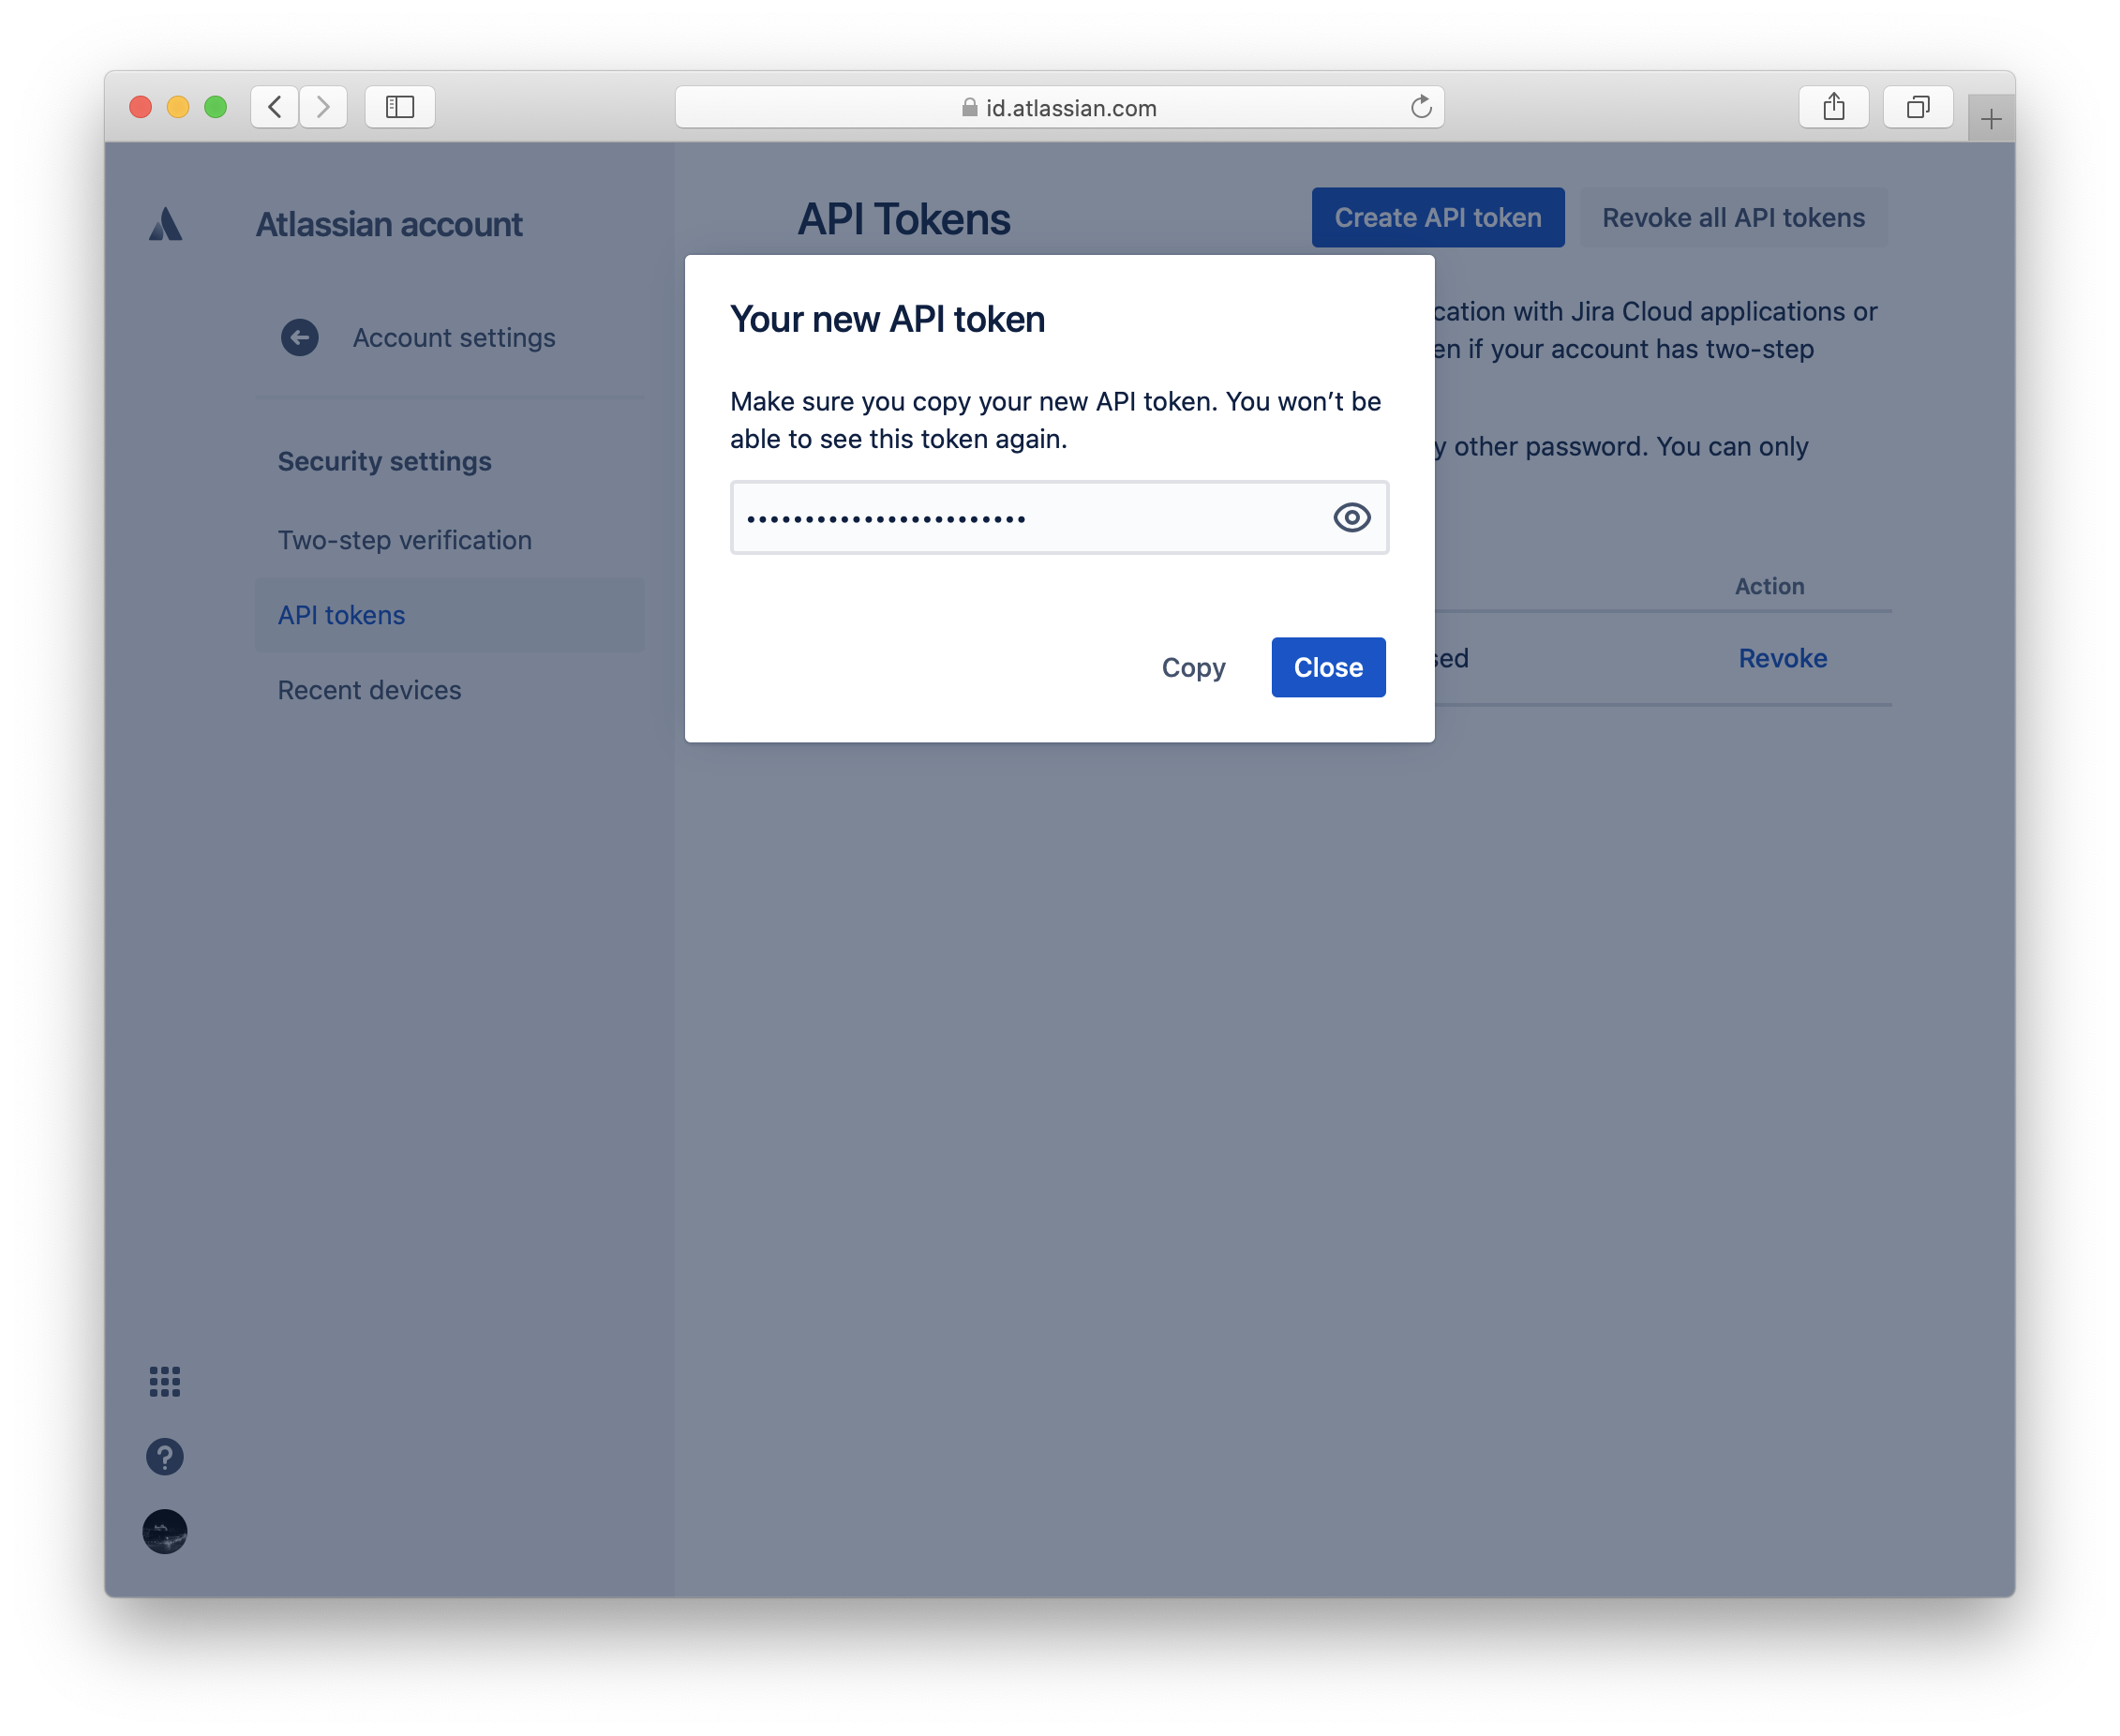
Click on "Create API token" to generate a token that you can use in the Python code to connect to the Jira instance. Make sure to save the token somewhere save, i.e. in your terminal environment.
Add the API_TOKEN, API_USER and API_URL to your Python script and add them as authentication for your requests session.
Note: for older Jira instances the token might not be supported and you need to authenticate with (JIRA_USER, JIRA_PASSWORD).
import requests
# Authentication
JIRA_TOKEN = "abcdefg12345"
JIRA_URL = "https://jitsejan.atlassian.net/"
JIRA_USER = "[email protected]"
# Setup request session
rsession = requests.Session()
rsession.auth = (JIRA_USER, JIRA_TOKEN)
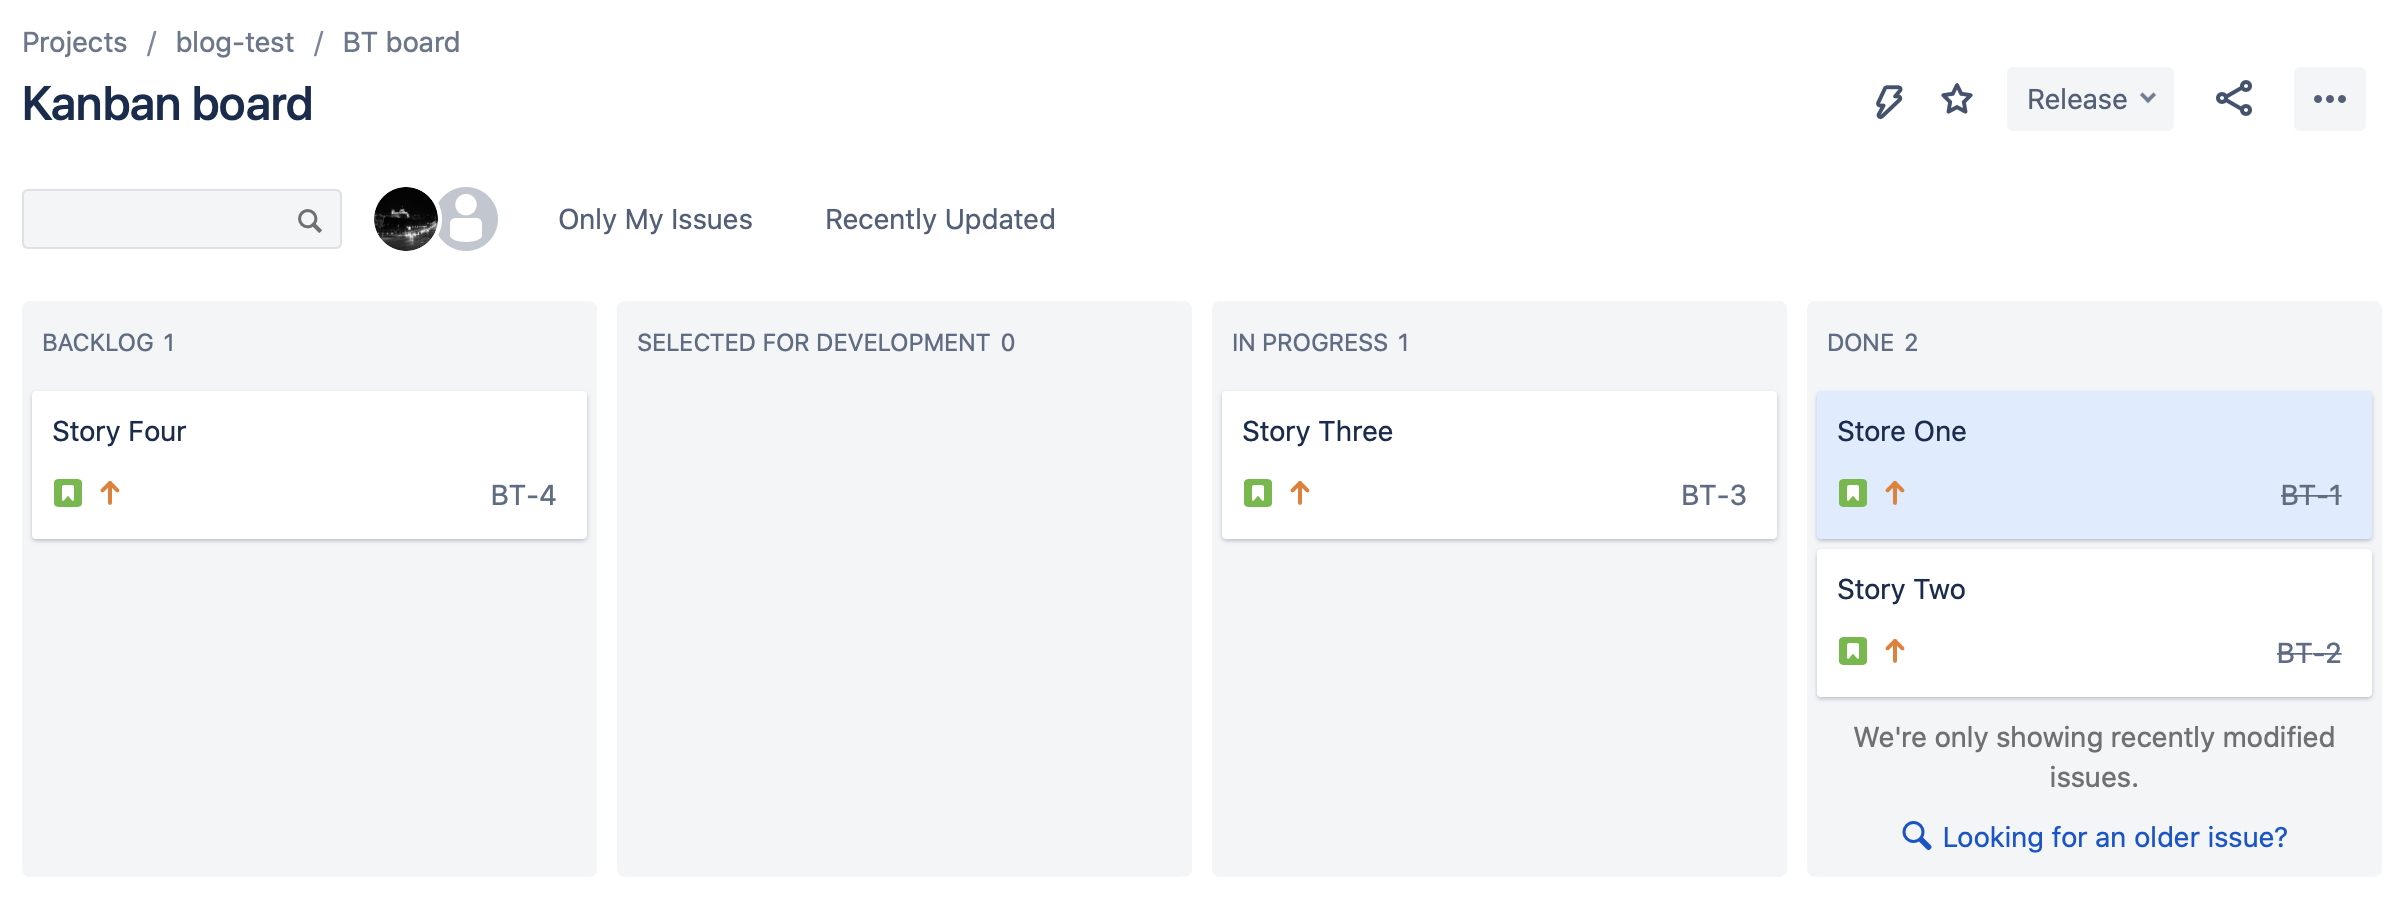
Mocking data
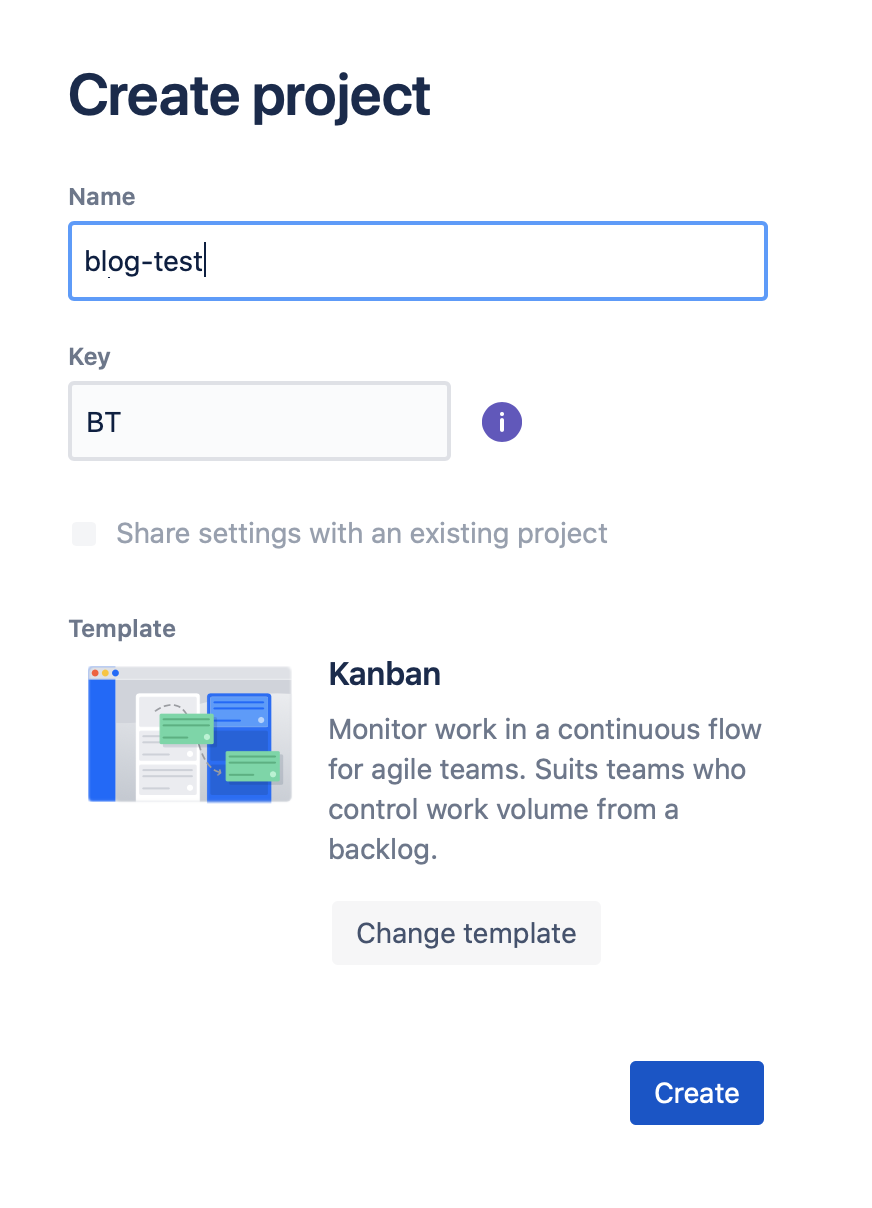
To create some data for this small example I have created four stories as part of the blog-test (BT) project. I have moved two stories to Done, one is still In progress and one is in the Backlog. Since this is a simple example I haven't added any assignee, description or other metadata to the tickets.
Retrieving data
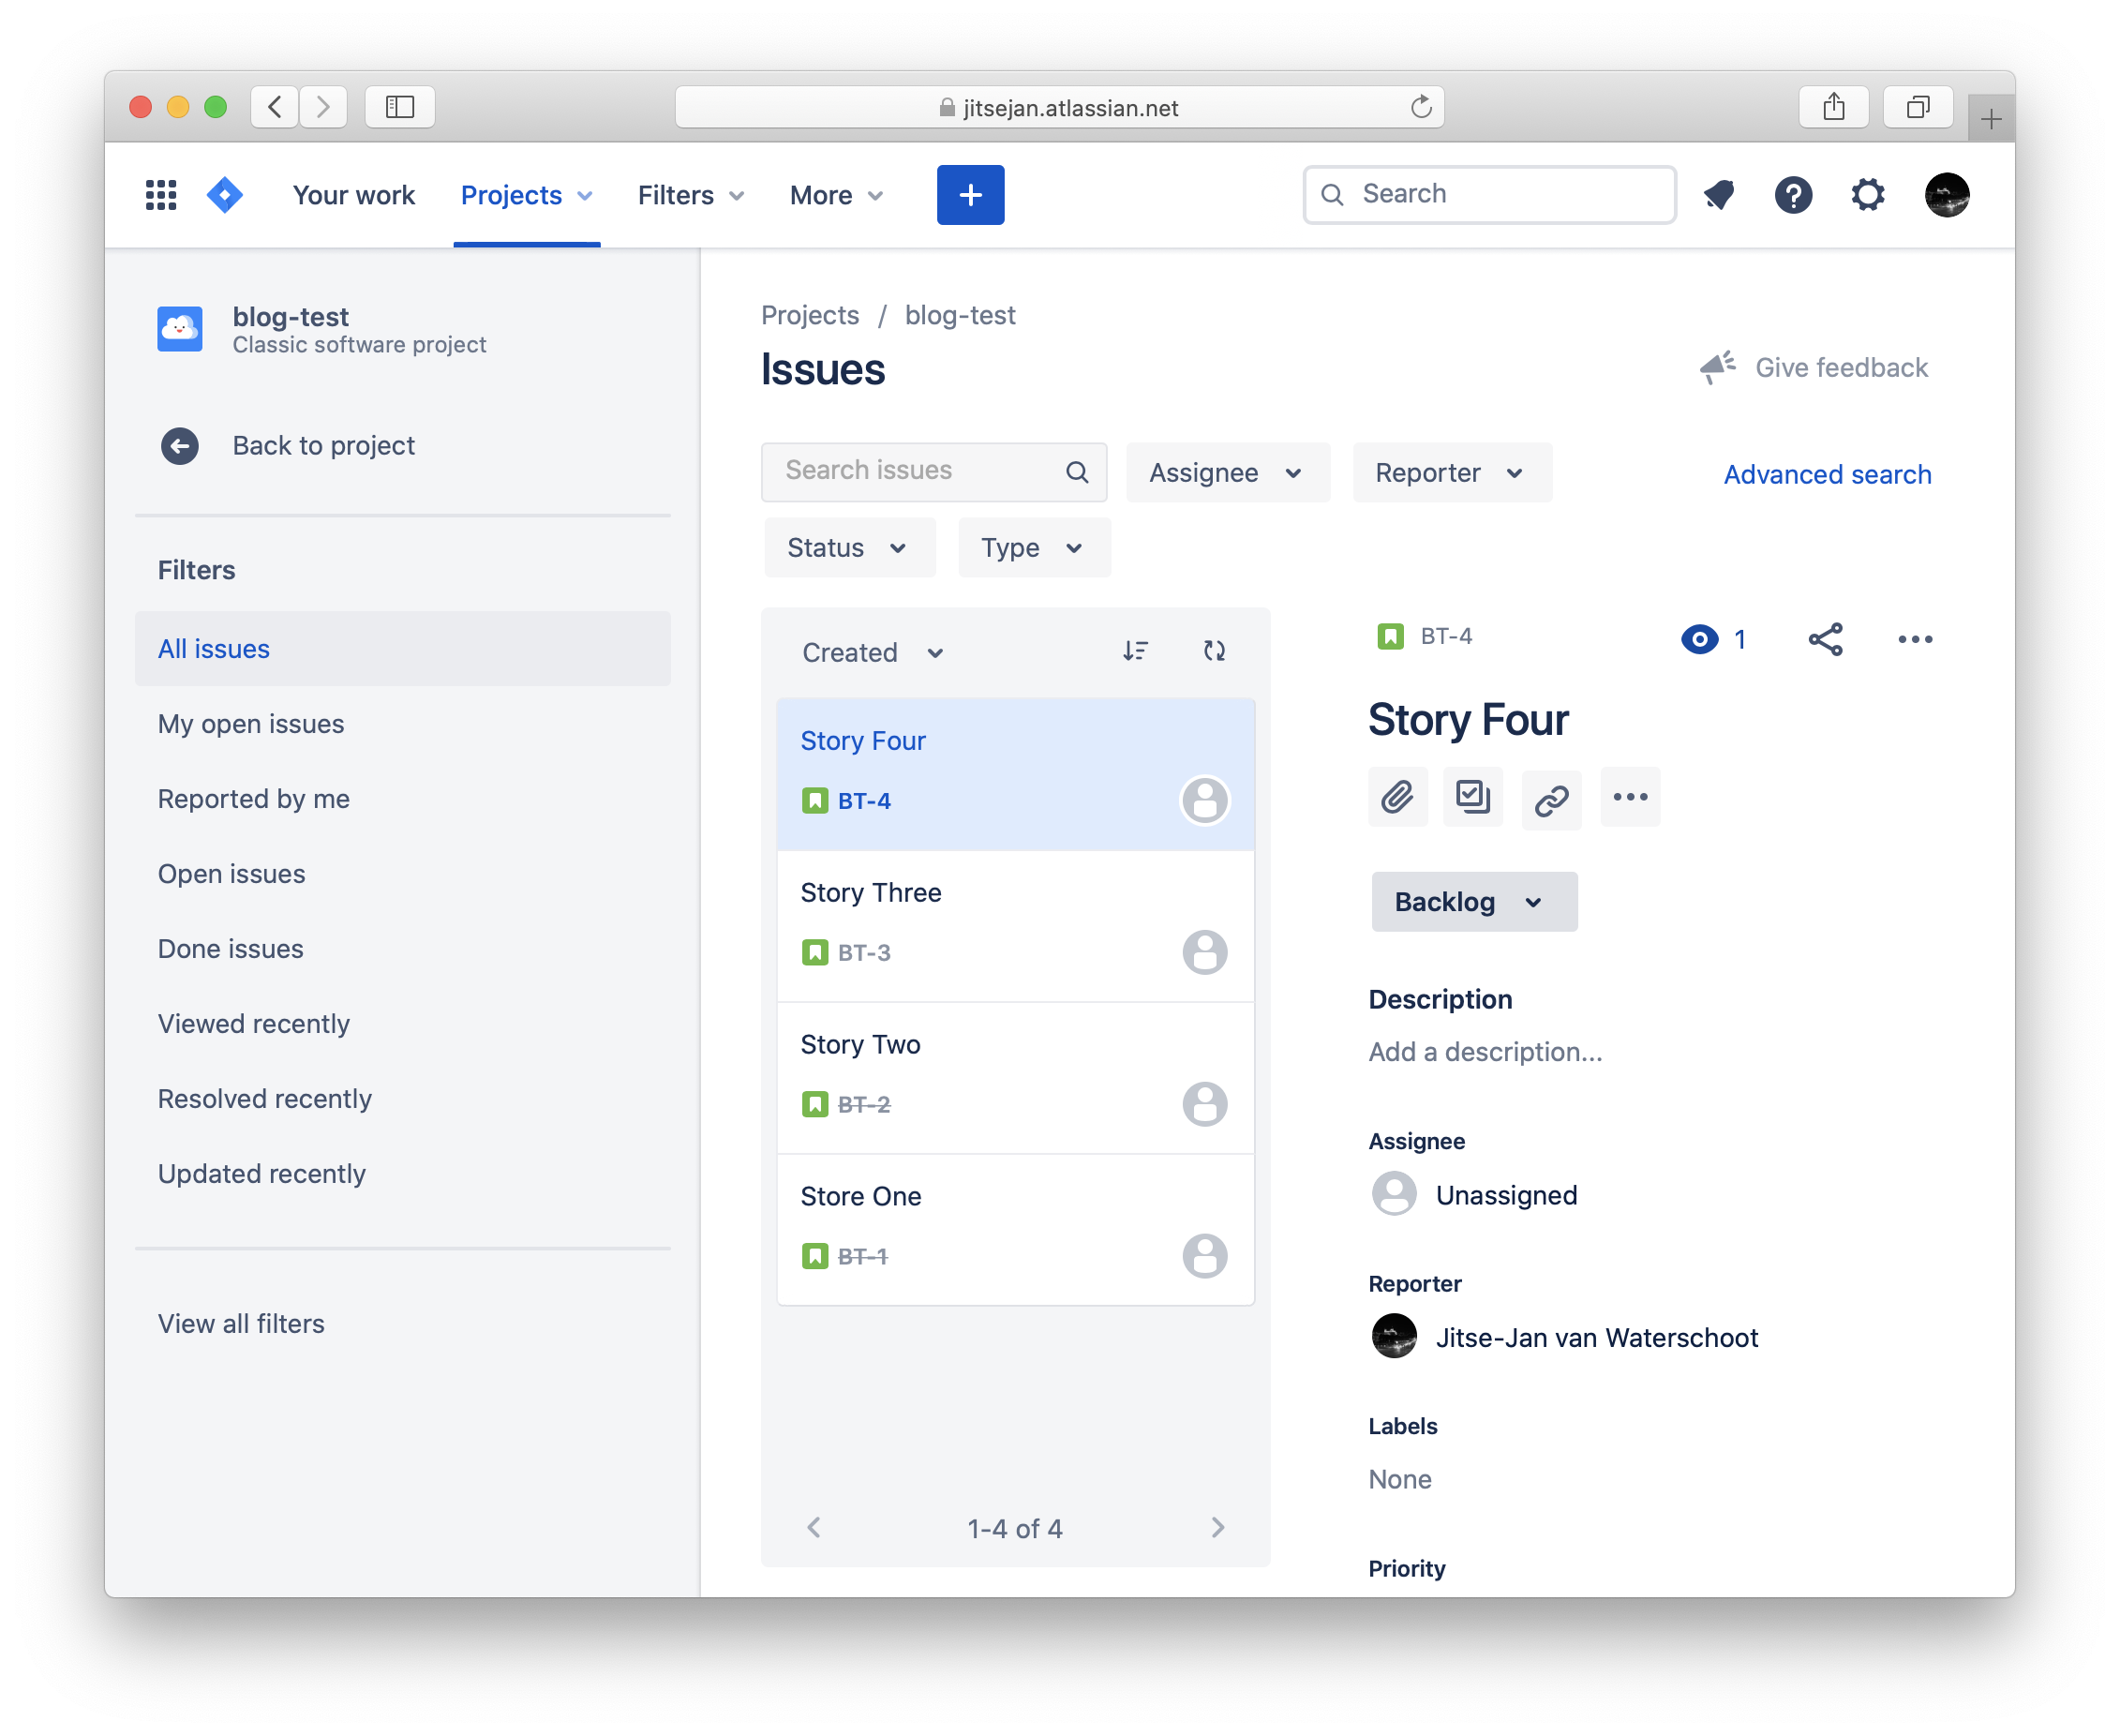
Using the Jira API it is easy to retrieve the tickets as long as you know a little bit of the Jira Query Language. To create a query navigate to the All issues page and click on Advanced search.
It can be as simple as querying all tickets by their project. For more advanced queries play with the Jira UI and copy the query using the Advanced search option. For simplicity reasons I will pull all the tickets based on the project with the following query:
project = BT
The following Python code will retrieve the tickets for the query and addtionally add the changelog. It is important to enable the changelog for the expand parameter when the data is retrieved for the tickets. Note that I use version 2 of the API and I retrieve JSON data directly. If this was production code you would obviously verify the response and build in the proper error handling.
jql = "project = BT"
params = {
    'jql': jql,
    'expand': 'changelog',
}
issues = rsession.get(f"{JIRA_URL}/rest/api/2/search",params=params).json()['issues']
As a base table I use only the key and the created field.
import pandas as pd

base = pd.json_normalize(issues)[['key', 'fields.created']]
base.rename(columns={'fields.created': 'created'}, inplace=True)
This will result in the following table with the four tickets that I created before.
| key | Created |
|---|---|
| BT-4 | 2020-08-30T21:13:05.191+0000 |
| BT-3 | 2020-08-30T21:13:00.259+0000 |
| BT-2 | 2020-08-30T21:12:52.512+0000 |
| BT-1 | 2020-08-30T21:12:46.238+0000 |
To get the changelog from the issues we have to dive a little deeper into the JSON structure. Again I use json_normalize but keep the fields and key fields. To get the history you need to open the JSON path to changelog > histories and extract the items field.
transitions = pd.json_normalize(data=issues,
                                record_path=['changelog', 'histories'],
                                meta=['fields', 'key'])[['created', 'items', 'key']]
Running the above code will result in the following table with the items still containing a list of different elements.
| created | items | key |
|---|---|---|
| 2020-08-30T21:25:13.454+0000 | [{'field': 'status', 'fieldtype': 'jira', .. ] | BT-3 |
| 2020-08-30T21:17:14.147+0000 | [{'field': 'status', 'fieldtype': 'jira', .. ] | BT-3 |
| 2020-08-30T21:21:39.042+0000 | [{'field': 'resolution', 'fieldtype': 'jira', .. ] | BT-2 |
| 2020-08-30T21:18:59.912+0000 | [{'field': 'status', 'fieldtype': 'jira', .. ] | BT-2 |
| 2020-08-30T21:17:08.462+0000 | [{'field': 'status', 'fieldtype': 'jira', .. ] | BT-2 |
| 2020-08-30T21:21:41.059+0000 | [{'field': 'resolution', 'fieldtype': 'jira', .. ] | BT-1 |
| 2020-08-30T21:18:58.145+0000 | [{'field': 'status', 'fieldtype': 'jira', .. ] | BT-1 |
| 2020-08-30T21:14:17.086+0000 | [{'field': 'status', 'fieldtype': 'jira', .. ] | BT-1 |
The next transformation involves a few steps:
- Explode the items column to have a row for each item in the list
- Extract the columns from the items column (i.e.
fieldandfieldtype) usingpd.Series - Filter out the transitions that involve a
statuschange - Select only the status change date
created, thekeyand thetoString(final state of the transition)
transitions = transitions.join(transitions['items']\
                               .explode()\
                               .apply(pd.Series)
                              )\
                          .query("field == 'status'")\
                          .drop("items", axis=1)[['created', 'key', 'toString']]
The table looks cleaner now and shows when a ticket was put in a certain state.
| created | key | toString |
|---|---|---|
| 2020-08-30T21:25:13.454+0000 | BT-3 | In Progress |
| 2020-08-30T21:17:14.147+0000 | BT-3 | Selected for Development |
| 2020-08-30T21:21:39.042+0000 | BT-2 | Done |
| 2020-08-30T21:18:59.912+0000 | BT-2 | In Progress |
| 2020-08-30T21:17:08.462+0000 | BT-2 | Selected for Development |
| 2020-08-30T21:21:41.059+0000 | BT-1 | Done |
| 2020-08-30T21:18:58.145+0000 | BT-1 | In Progress |
| 2020-08-30T21:14:17.086+0000 | BT-1 | Selected for Development |
In the previous table it should be observed that there are no transitions for the fourth ticket BT-4. This makes sense since the ticket was only created but was never put in another column on the Jira board. To calculate ticket metrics it is important to also include the transition to when a ticket was added. In order to do this I will join the transitions table with the created column from the base table.
First I will create a copy of the base dataframe and add an additional column with the transition to match the schema of the transitions table.
created_transitions = base.copy()
# Add column
created_transitions['toString'] = 'Backlog'
This will show the four keys with the timestamp and the toString information.
| key | created | toString |
|---|---|---|
| BT-4 | 2020-08-30T21:13:05.191+0000 | Backlog |
| BT-3 | 2020-08-30T21:13:00.259+0000 | Backlog |
| BT-2 | 2020-08-30T21:12:52.512+0000 | Backlog |
| BT-1 | 2020-08-30T21:12:46.238+0000 | Backlog |
After combining the two tables with
transitions = pd.concat([transitions, create_transitions])
the table is complete and contains all the information we need. Now we do have a transition for BT-4.
| created | key | toString |
|---|---|---|
| 2020-08-30T21:12:46.238+0000 | BT-1 | Backlog |
| 2020-08-30T21:14:17.086+0000 | BT-1 | Selected for Development |
| 2020-08-30T21:18:58.145+0000 | BT-1 | In Progress |
| 2020-08-30T21:21:41.059+0000 | BT-1 | Done |
| 2020-08-30T21:12:52.512+0000 | BT-2 | Backlog |
| 2020-08-30T21:17:08.462+0000 | BT-2 | Selected for Development |
| 2020-08-30T21:18:59.912+0000 | BT-2 | In Progress |
| 2020-08-30T21:21:39.042+0000 | BT-2 | Done |
| 2020-08-30T21:13:00.259+0000 | BT-3 | Backlog |
| 2020-08-30T21:17:14.147+0000 | BT-3 | Selected for Development |
| 2020-08-30T21:25:13.454+0000 | BT-3 | In Progress |
| 2020-08-30T21:13:05.191+0000 | BT-4 | Backlog |
To calculate the time in each status we will need to pivot the table to get the tickets as rows and the statuses as columns.
statuses = transitions.pivot(index='key',
                             values='created',
                             columns='toString')
# Correct the datatype for the dataframe
statuses = statuses.astype('datetime64[ns]')
# Rename the column
The table now looks like this which makes it easy to see that BT-3 is not done yet and BT-4 never moved.
| key | Backlog | Selected for Development | In Progress | Done |
|---|---|---|---|---|
| BT-1 | 2020-08-30T21:12:46.238 | 2020-08-30T21:14:17.086 | 2020-08-30T21:18:58.145 | 2020-08-30T21:21:41.059 |
| BT-2 | 2020-08-30T21:12:52.512 | 2020-08-30T21:17:08.462 | 2020-08-30T21:18:59.912 | 2020-08-30T21:21:39.042 |
| BT-3 | 2020-08-30T21:13:00.259 | 2020-08-30T21:17:14.147 | 2020-08-30T21:25:13.454 | NaT |
| BT-4 | 2020-08-30T21:13:05.191 | NaT | NaT | NaT |
Now to calculate the lead time (time from Backlog to Done) it is straightforward to substract the two columns and get the timedelta. Since I moved tickets manually in a short period of time I will calculate the delta in seconds.
statuses['duration [s]'] = (statuses['Done'] - statuses['Backlog']).apply(lambda x: x.seconds)
The very impressive result will be this small table:
| key | duration [s] |
|---|---|
| BT-1 | 534 |
| BT-2 | 526 |
| BT-3 | nan |
| BT-4 | nan |
Check the final gist here. Hope this helps anyone playing with Jira and Python!